I took a Marquetry course taught by Marc Adams. As expected his course was intense. I took a lot of notes and some of them might make it into this page. The first thing to be covered is the concluding steps to the work begun during the course. Two pieces were completed during the course, sans finishing.
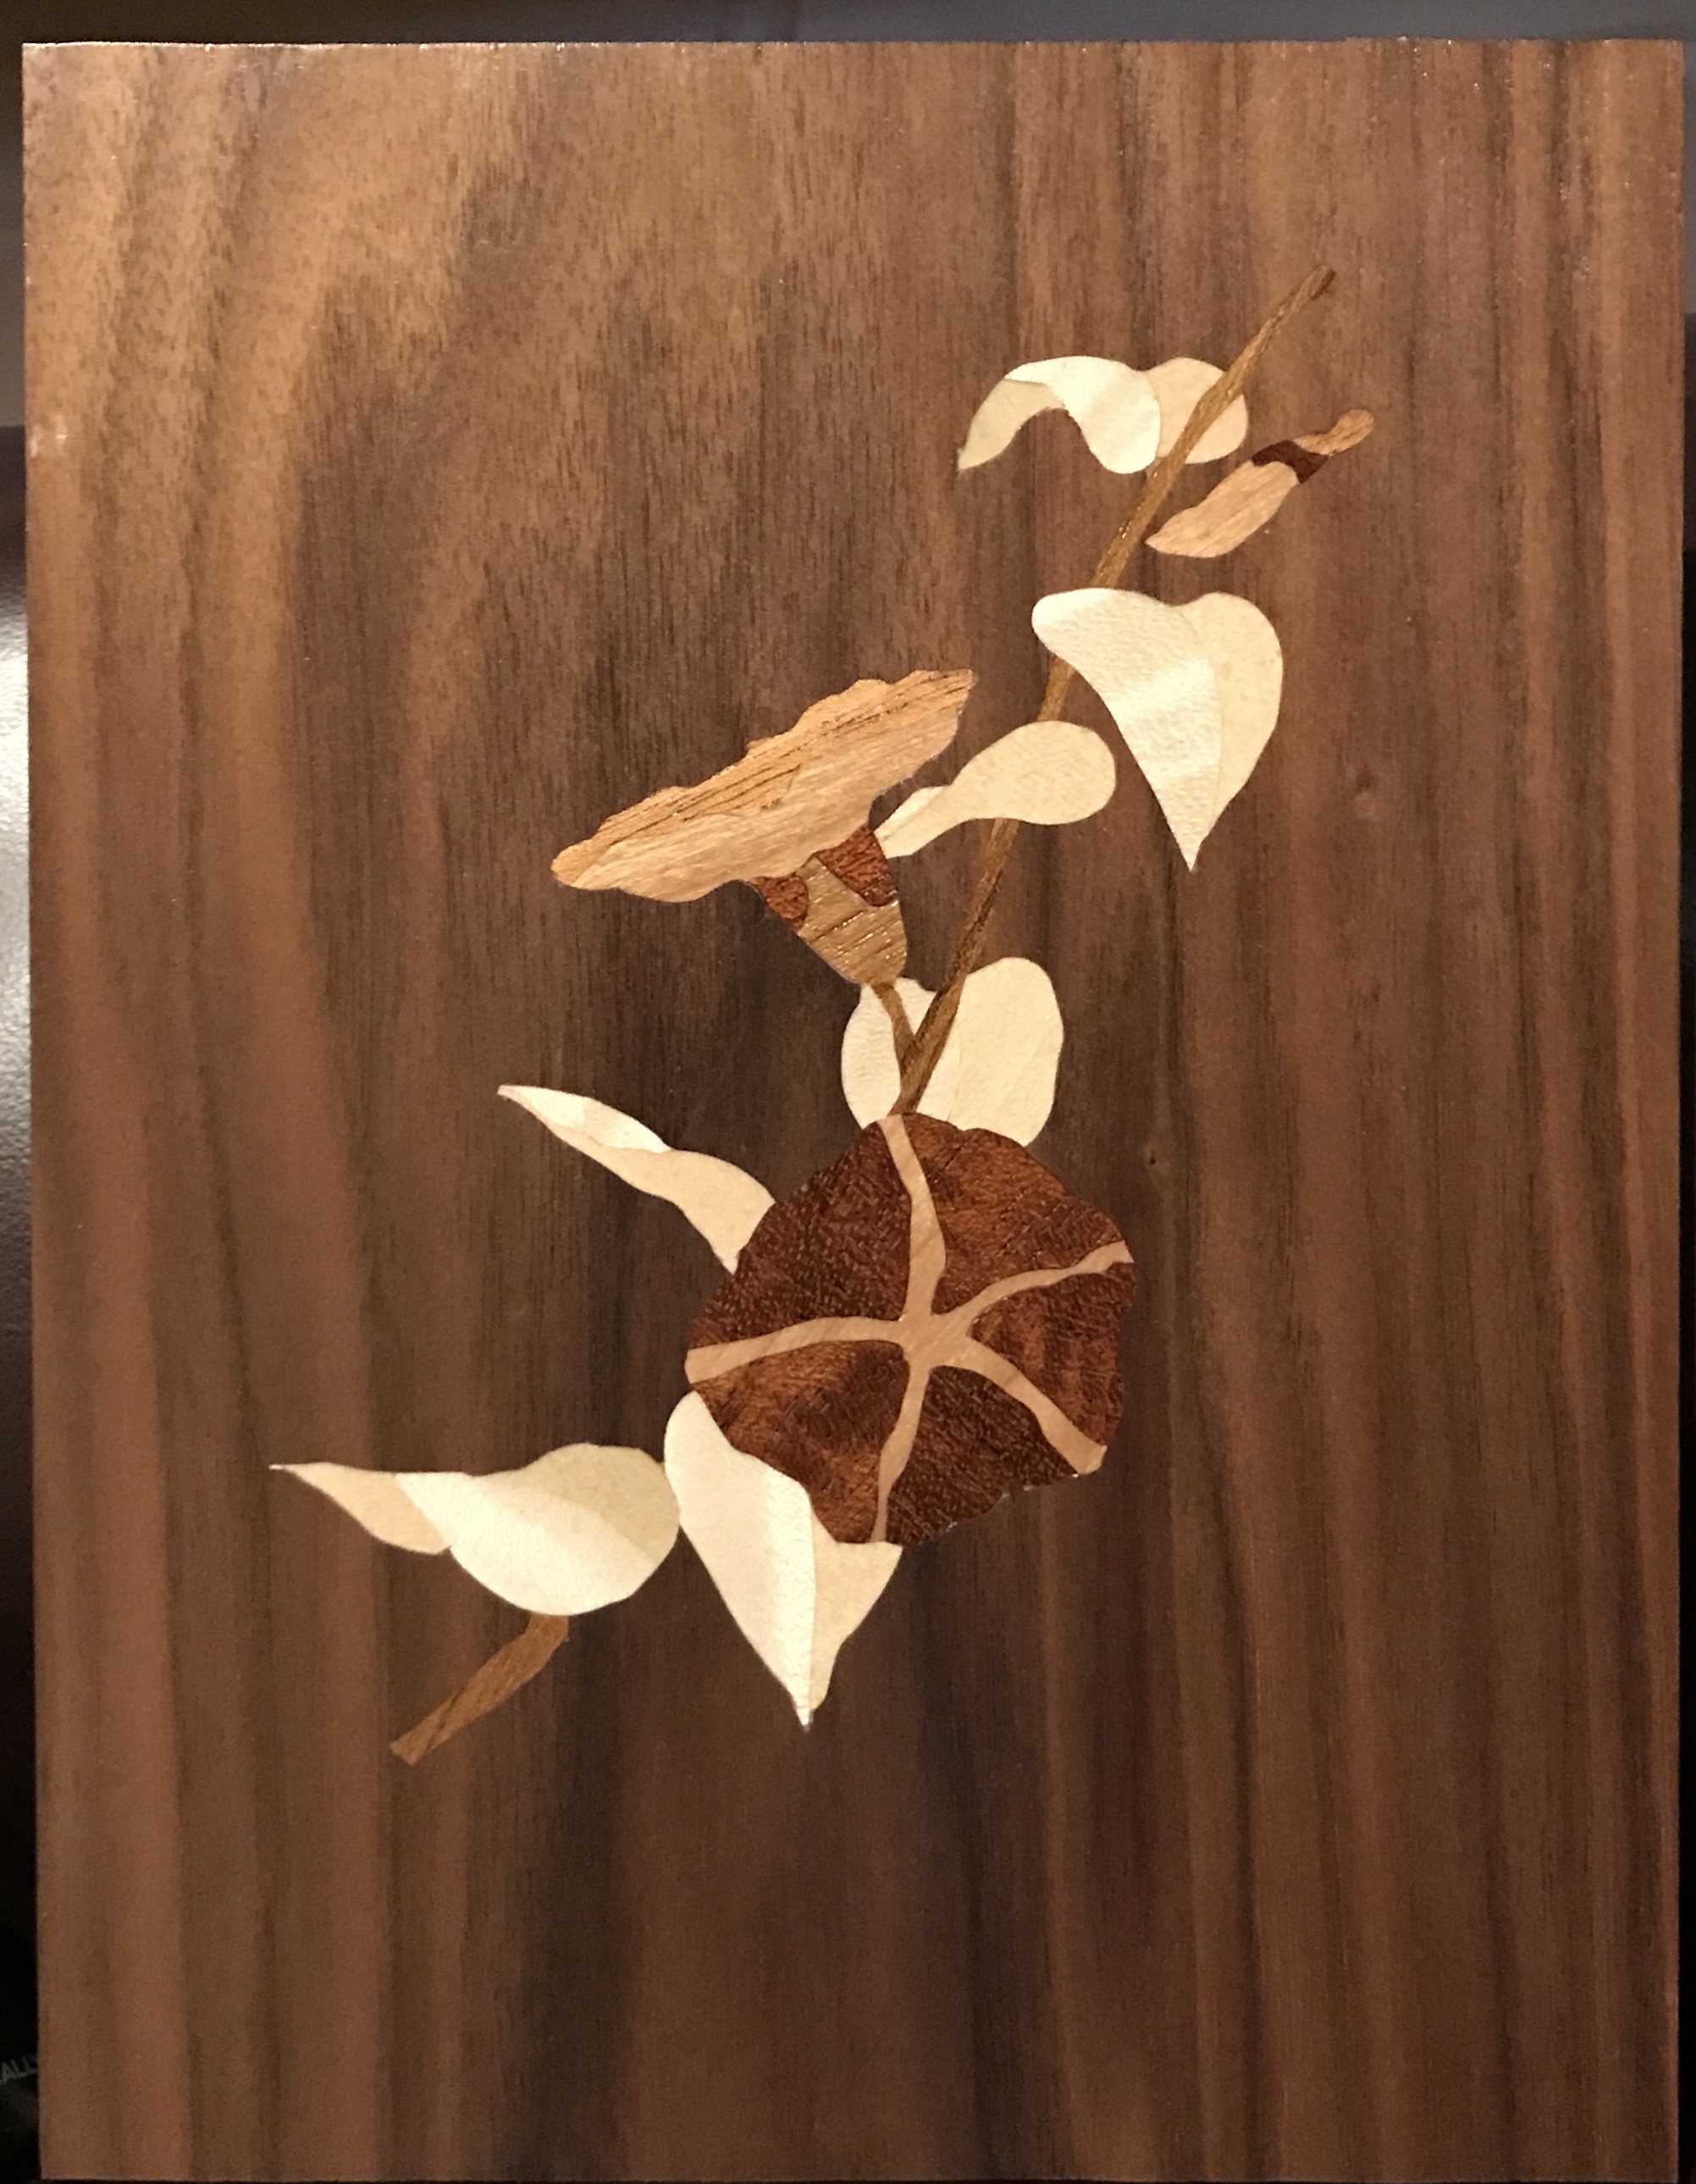
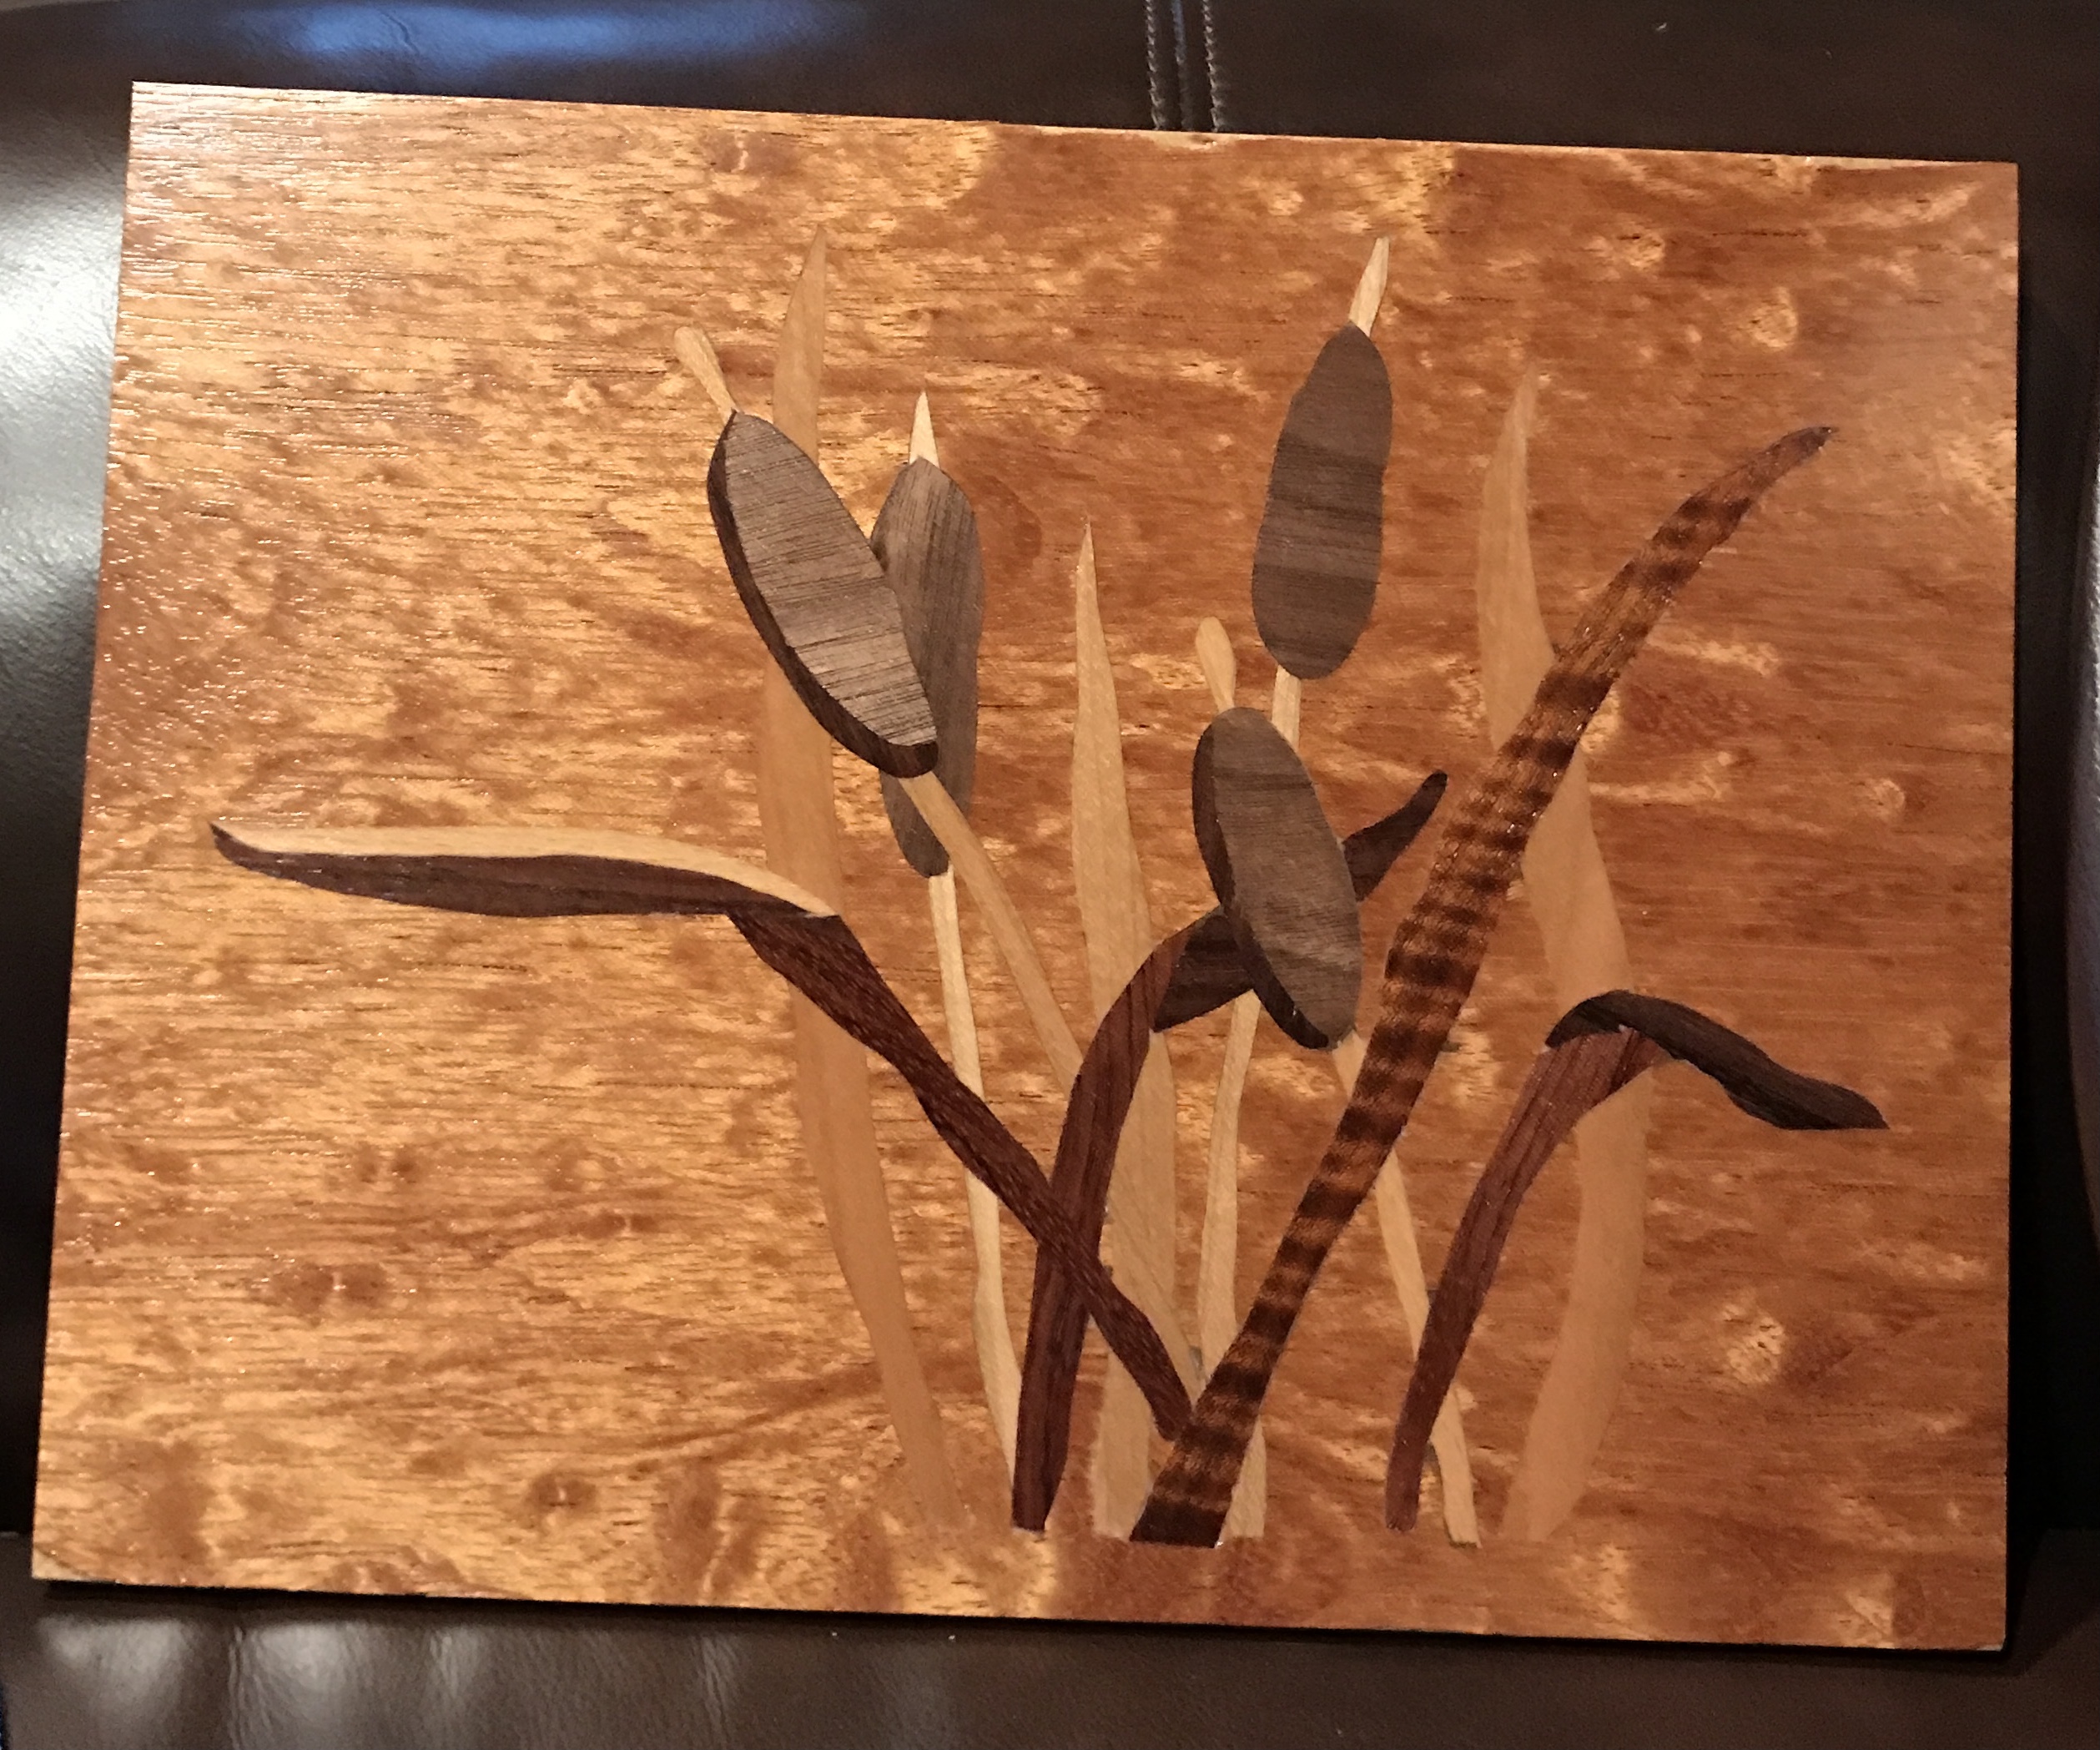
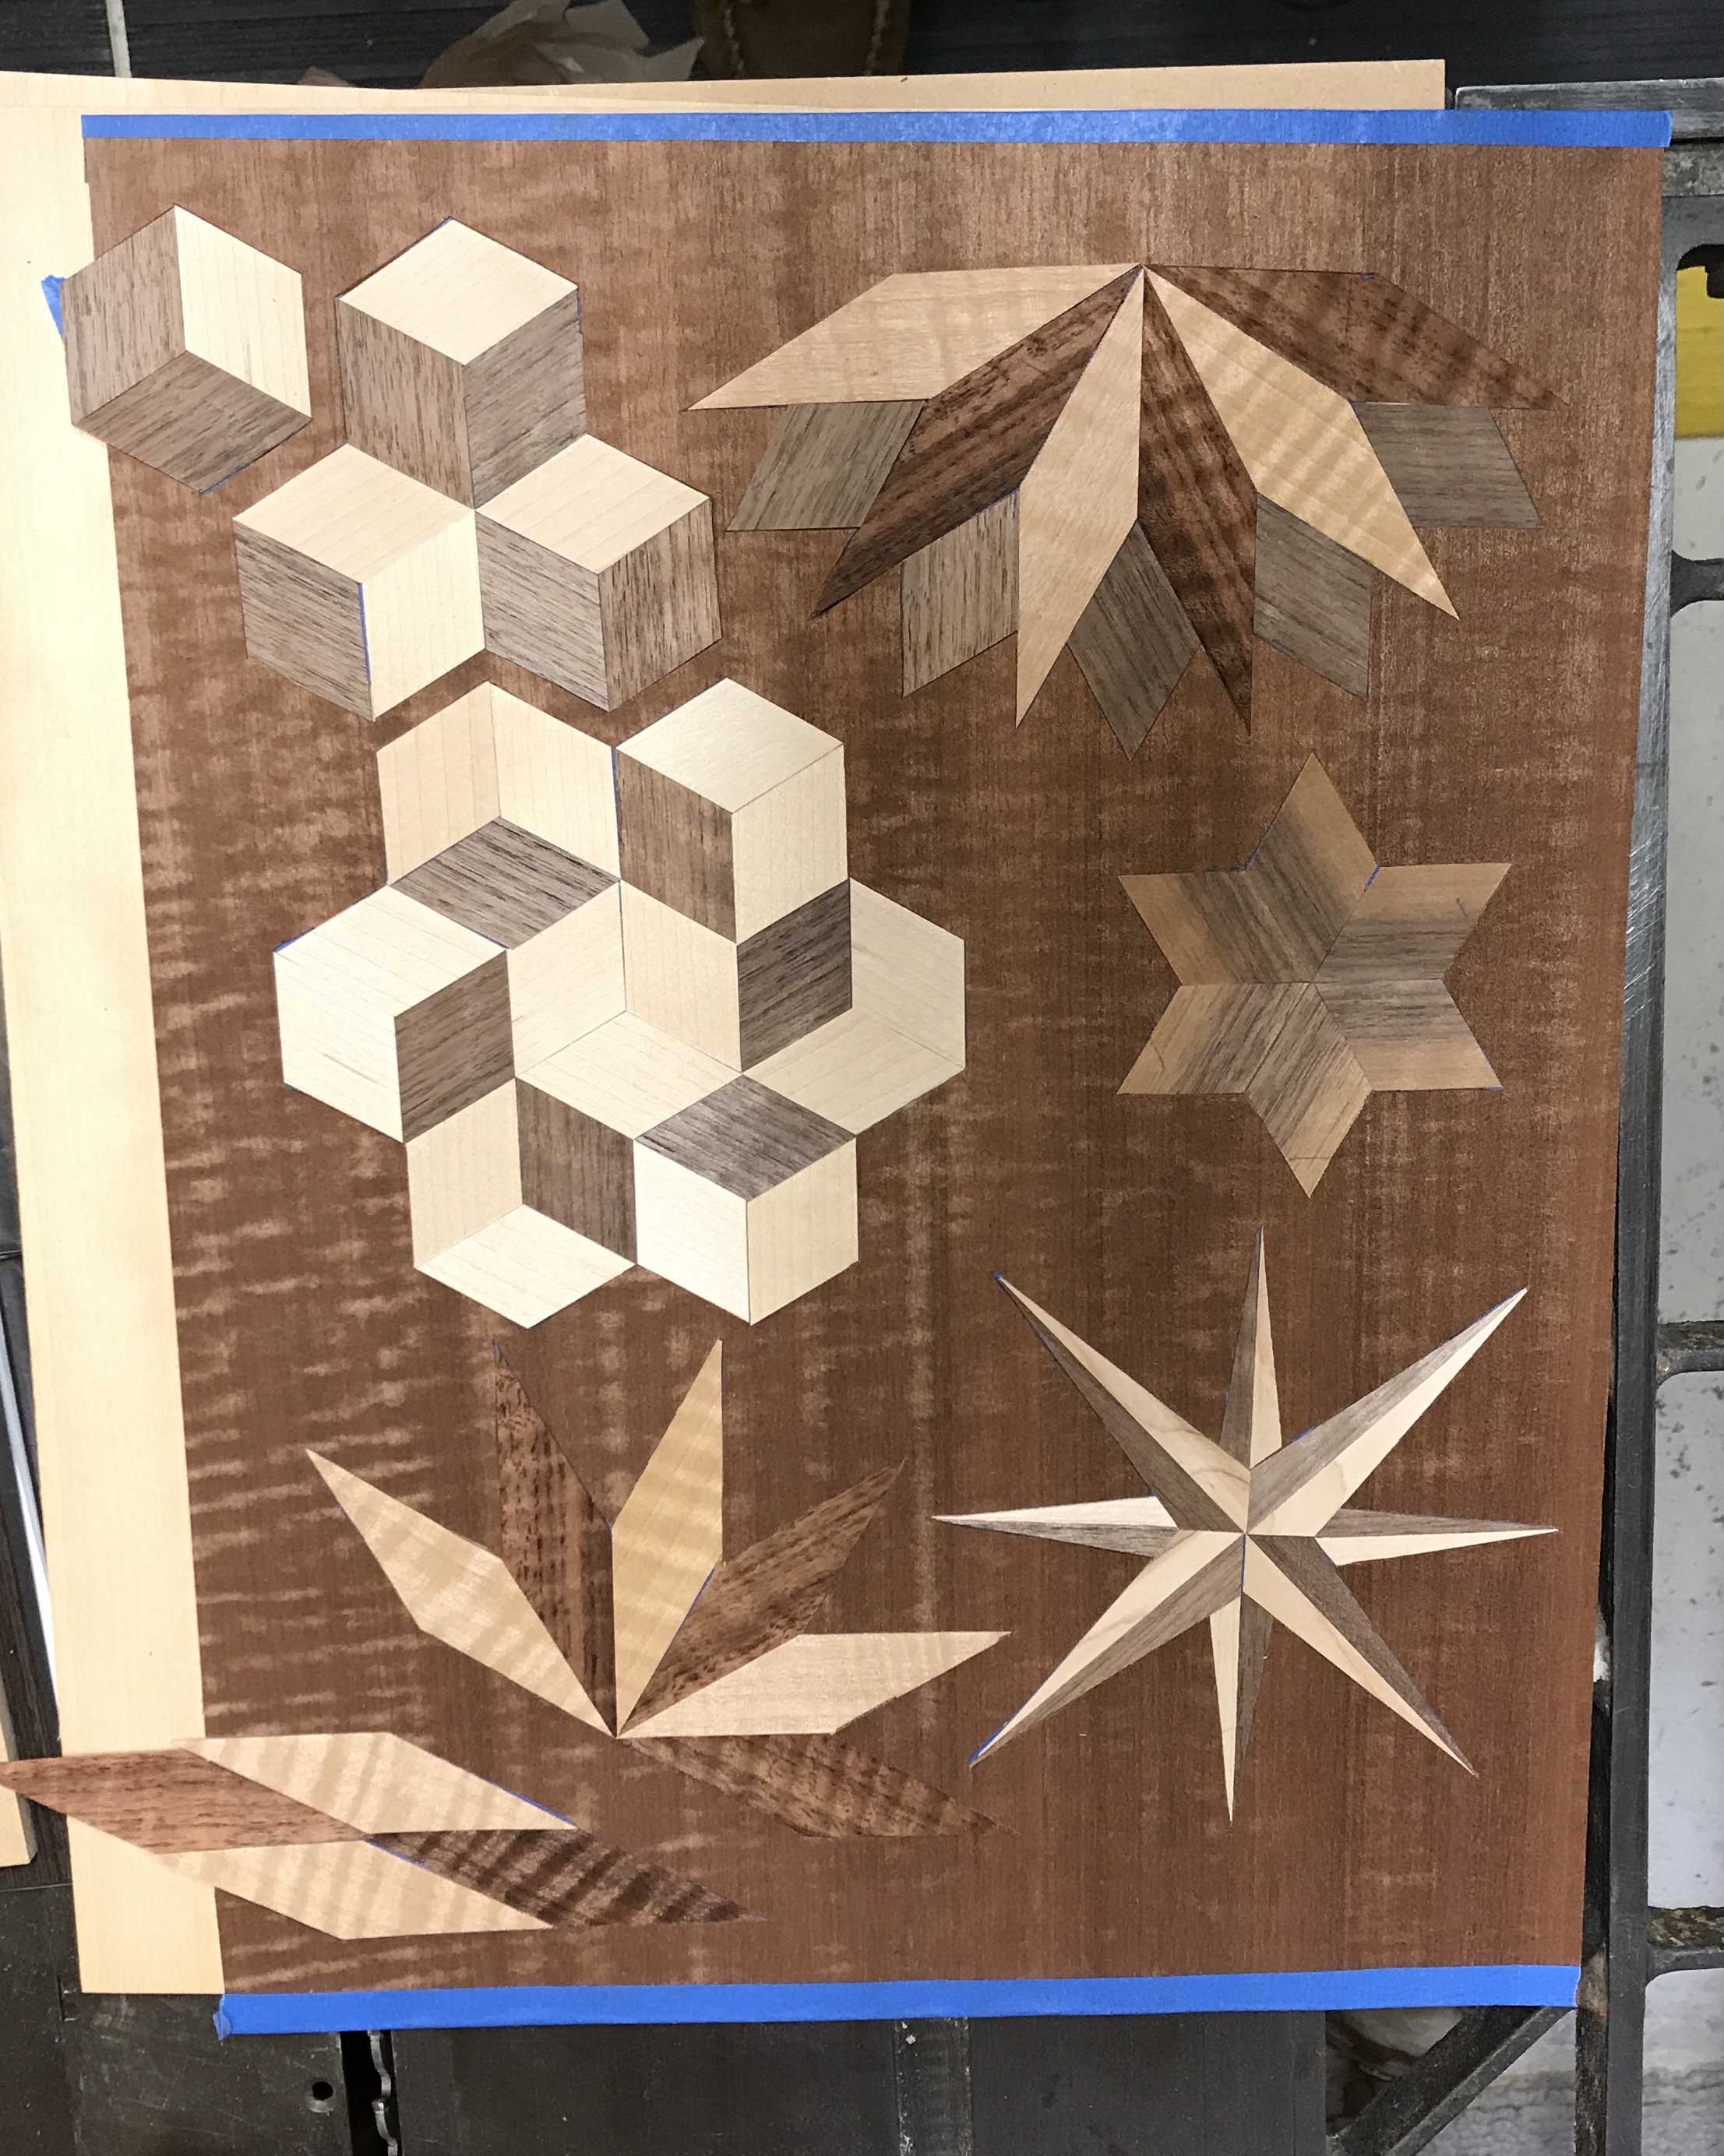
Lacquer is one of Marc's recommended ways to finish marquetry pieces. He said the lacquer should be sprayed. Due to the problems I have had previously with spraying lacquer, e.g. bandsaw puzzle boxes, I used a brush. Both pieces were given two coats of lacquer after sanding to 220 grit (sanding done at class). The two photos below show the pieces. Both pieces need to be framed.
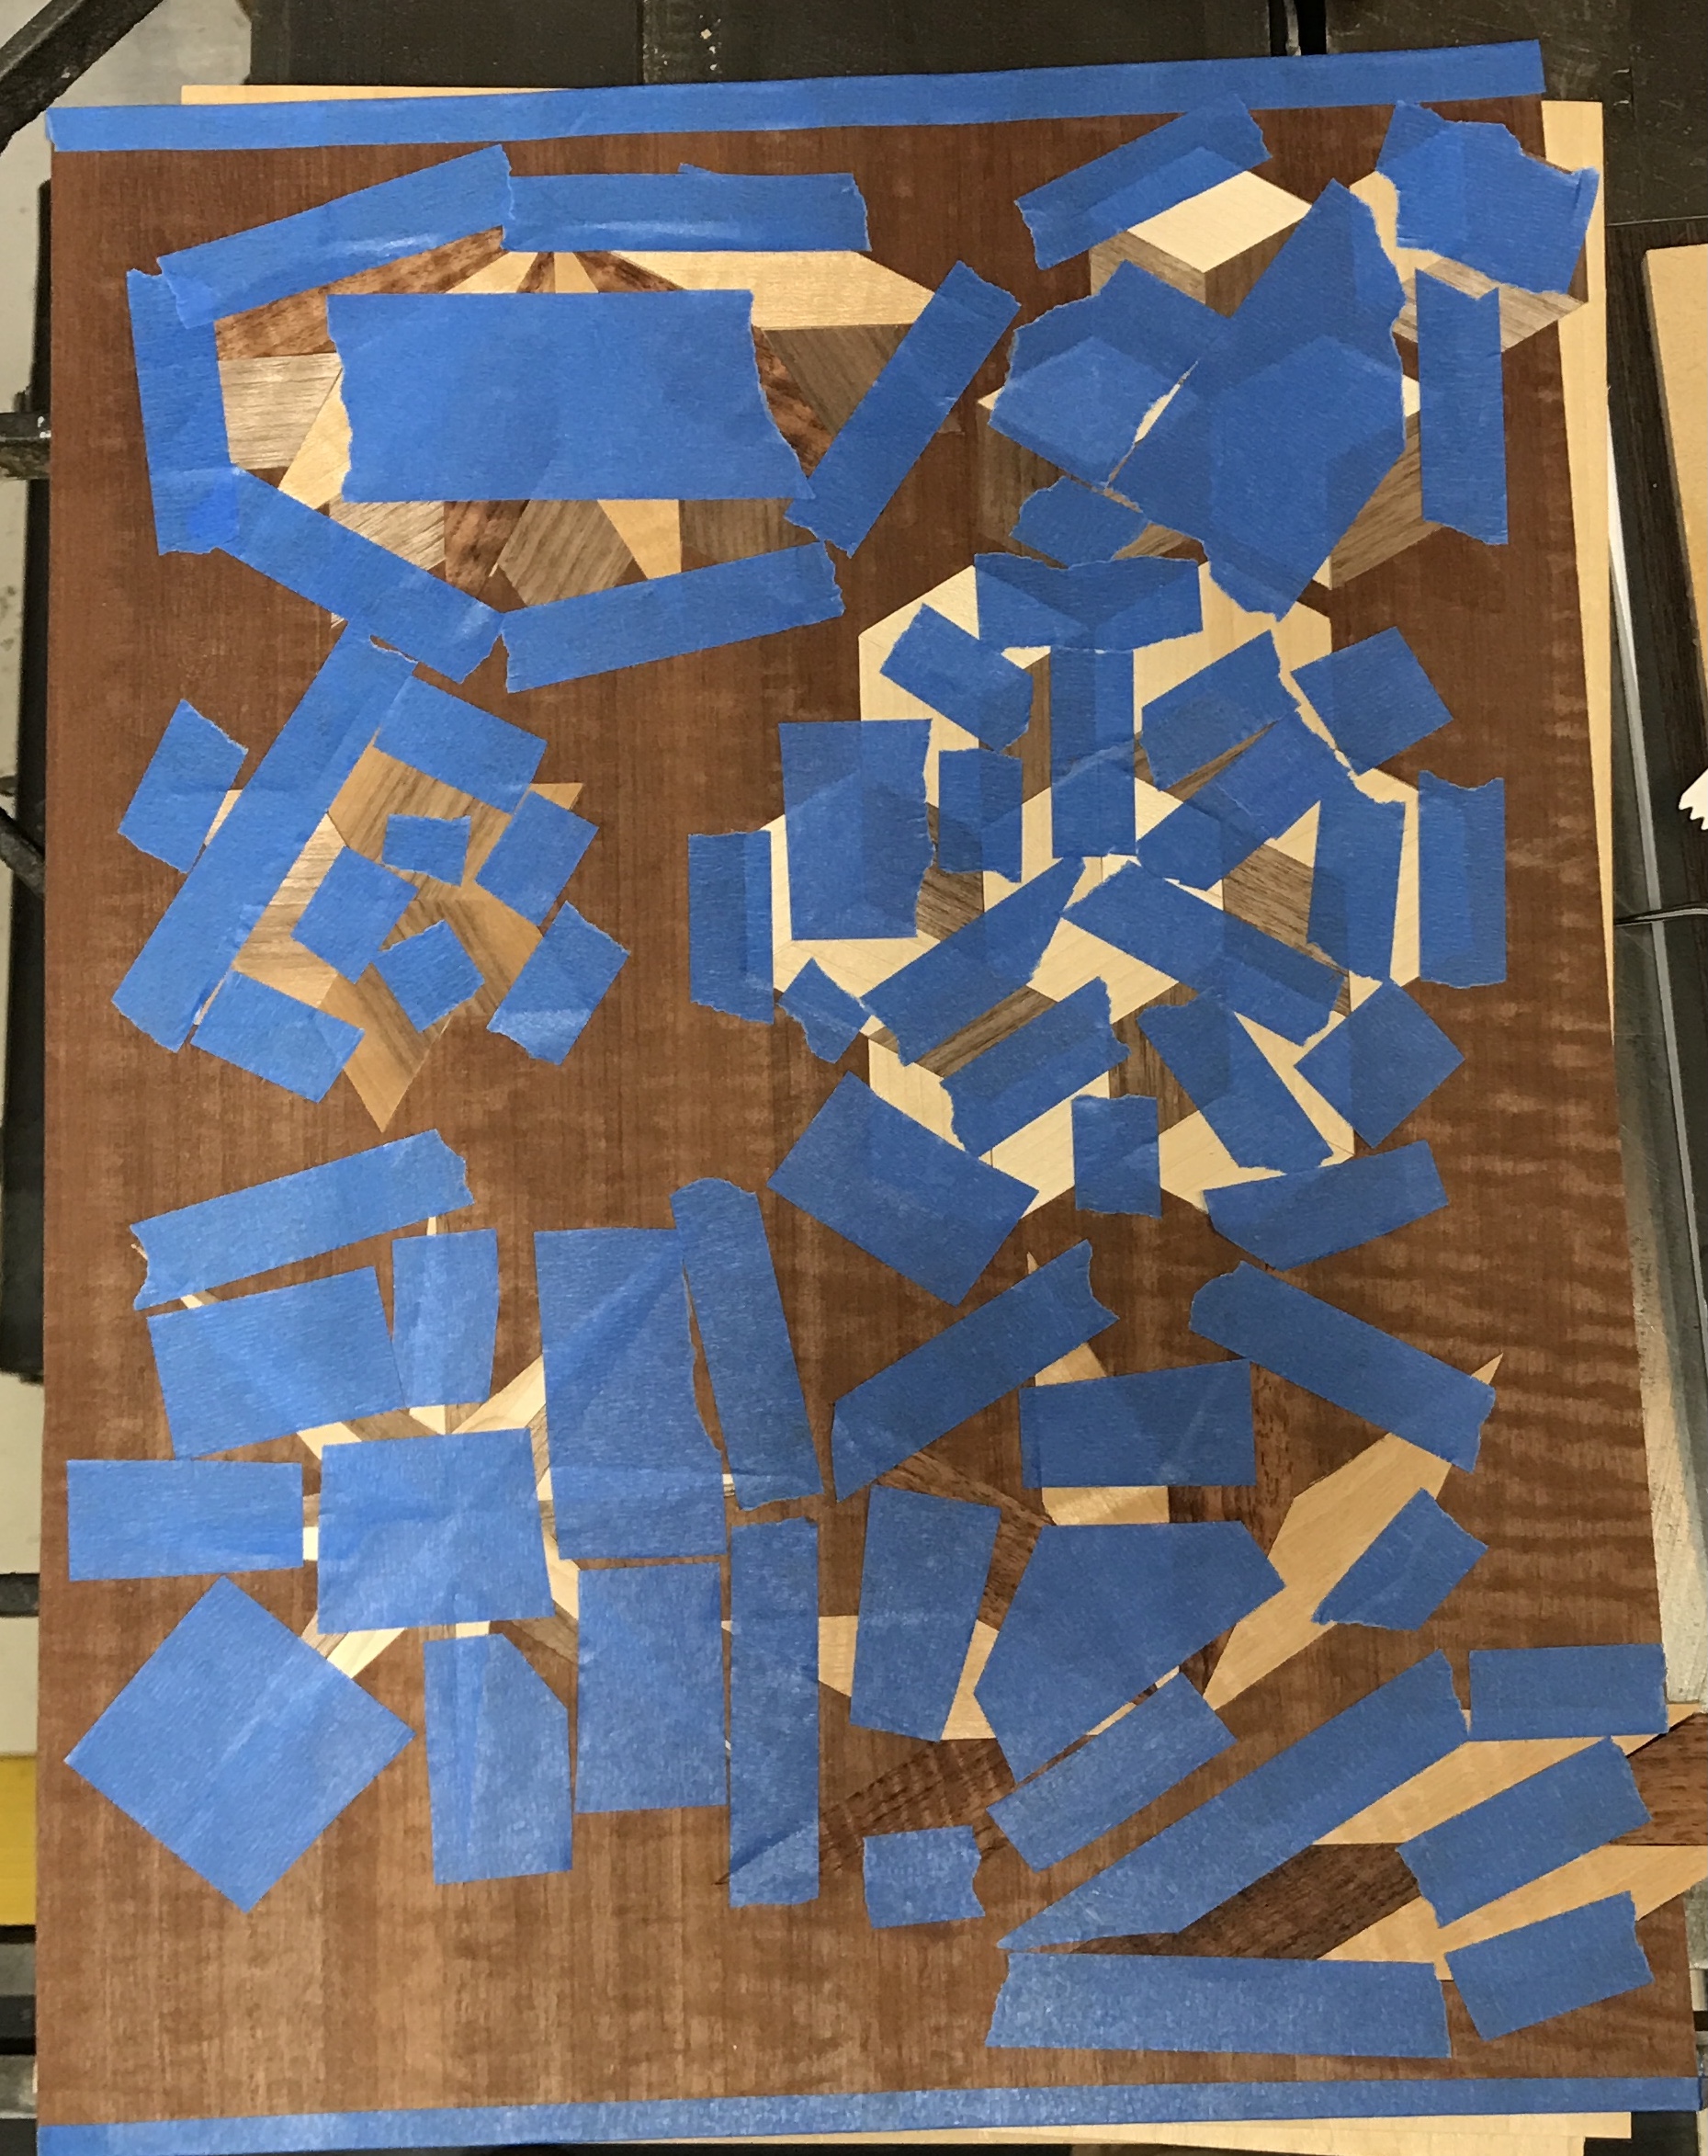
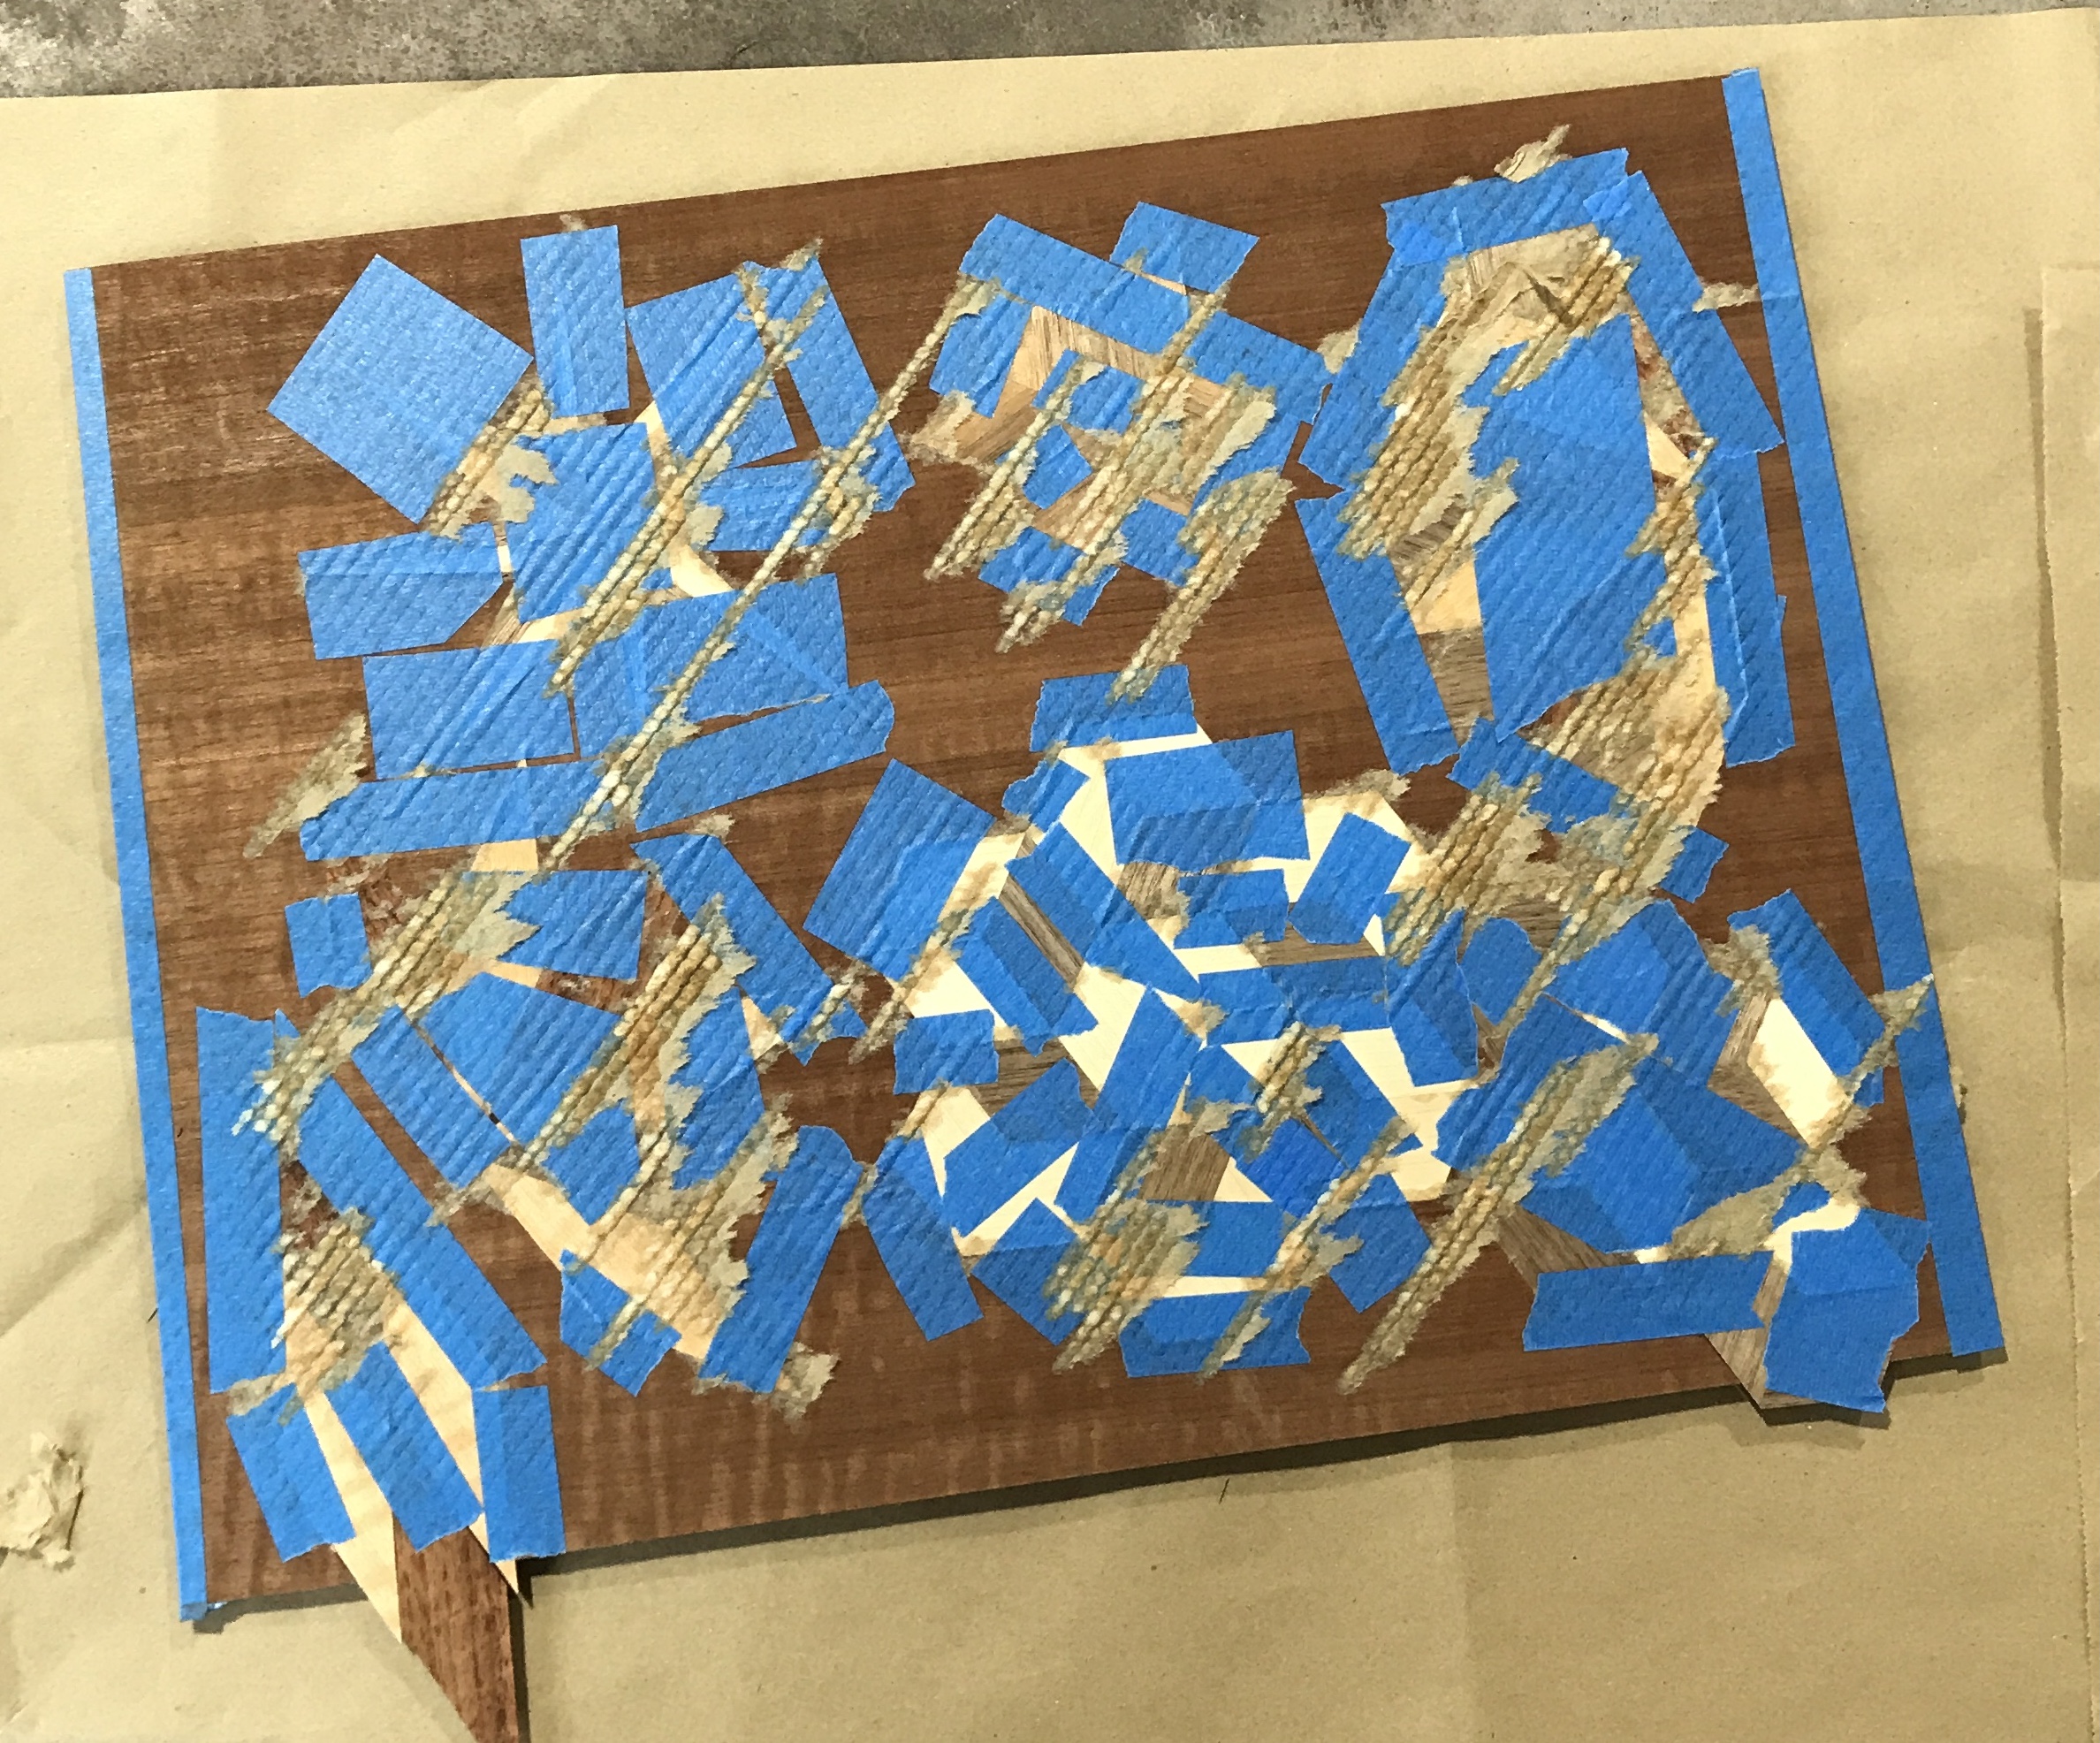
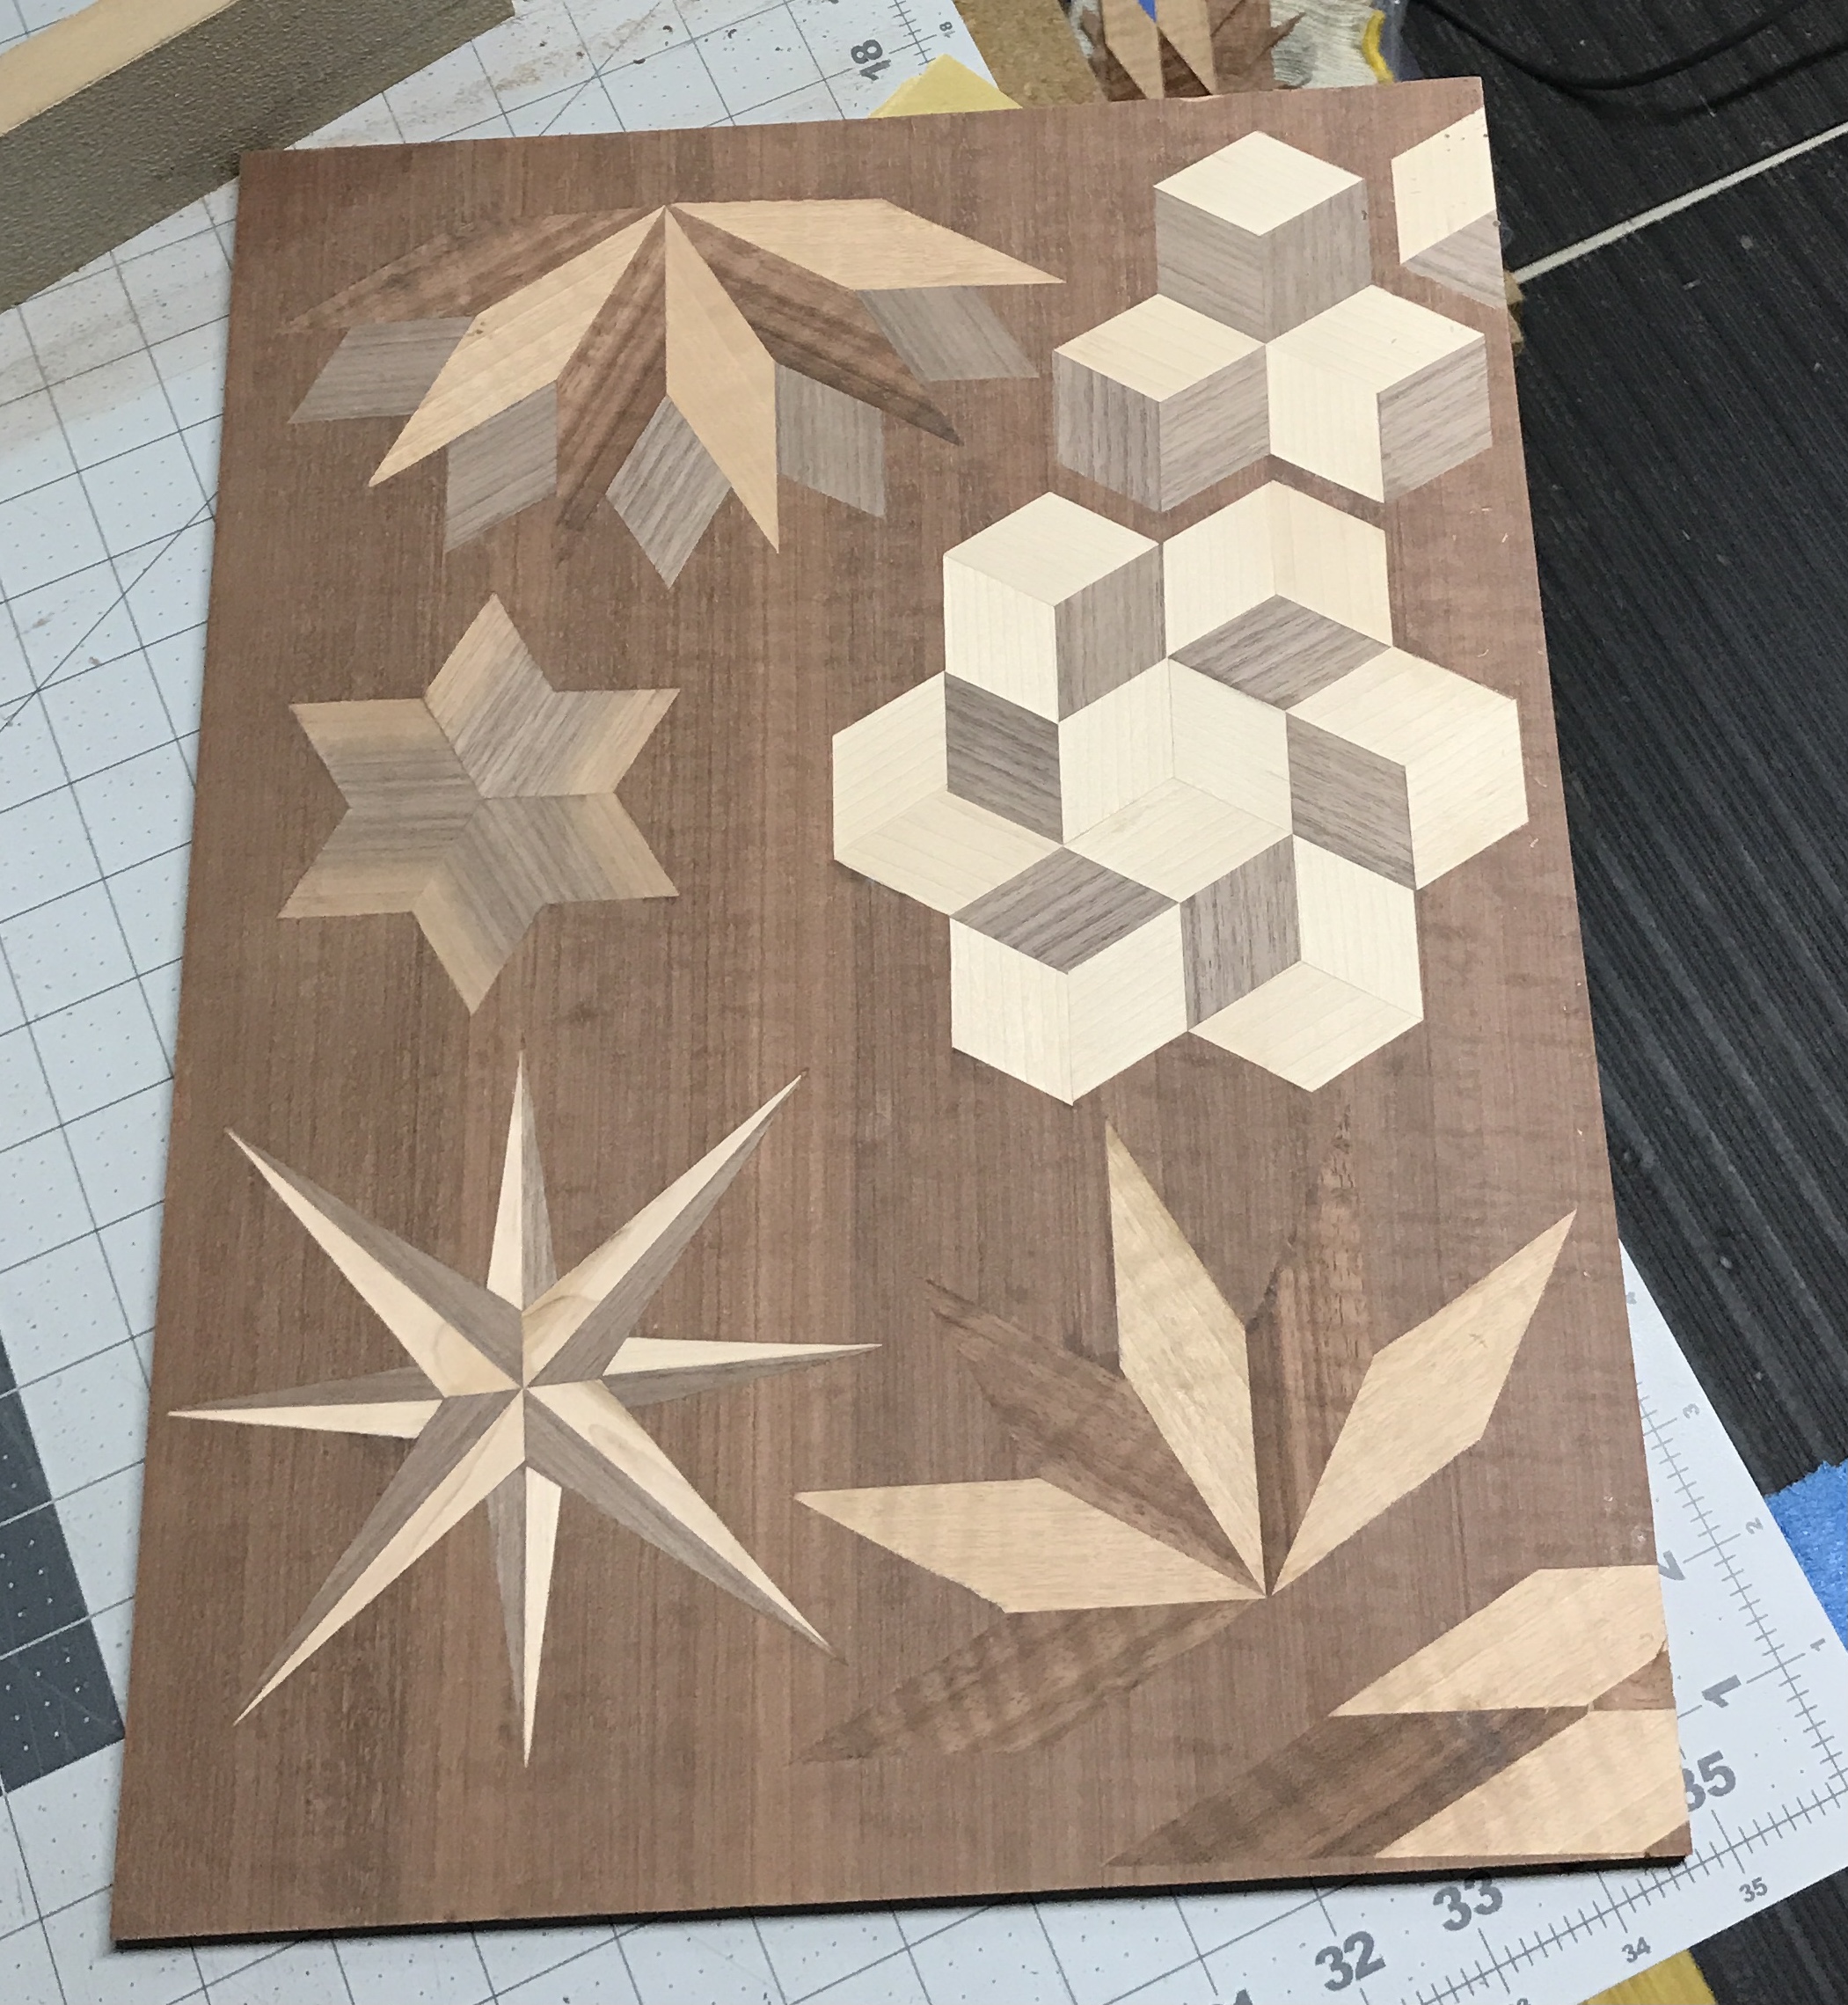
The third unfinished piece was the collage of geometric designs. This is usually called parquetry as opposed to marquetry, which are pictures. Some of the parts made in class needed to be cut into the background. This was done with an Xacto knife. The pieces were taped together and in place with blue tape. A few weeks later it was time to glue the venner to the MDF board. I read through my notes and discovered that Marc recommends only one layer of blue tape for parquetry pieces when gluing. Most of the parts had multiple layers of tape. Some were fixed by pulling up and cutting off overlapping ends. Most had to be completely retaped. This was a slow and carefully done process so as not to tear up the small delicate pieces. The photo below shows the finished retaping. The second photo shows the side that will be glued.
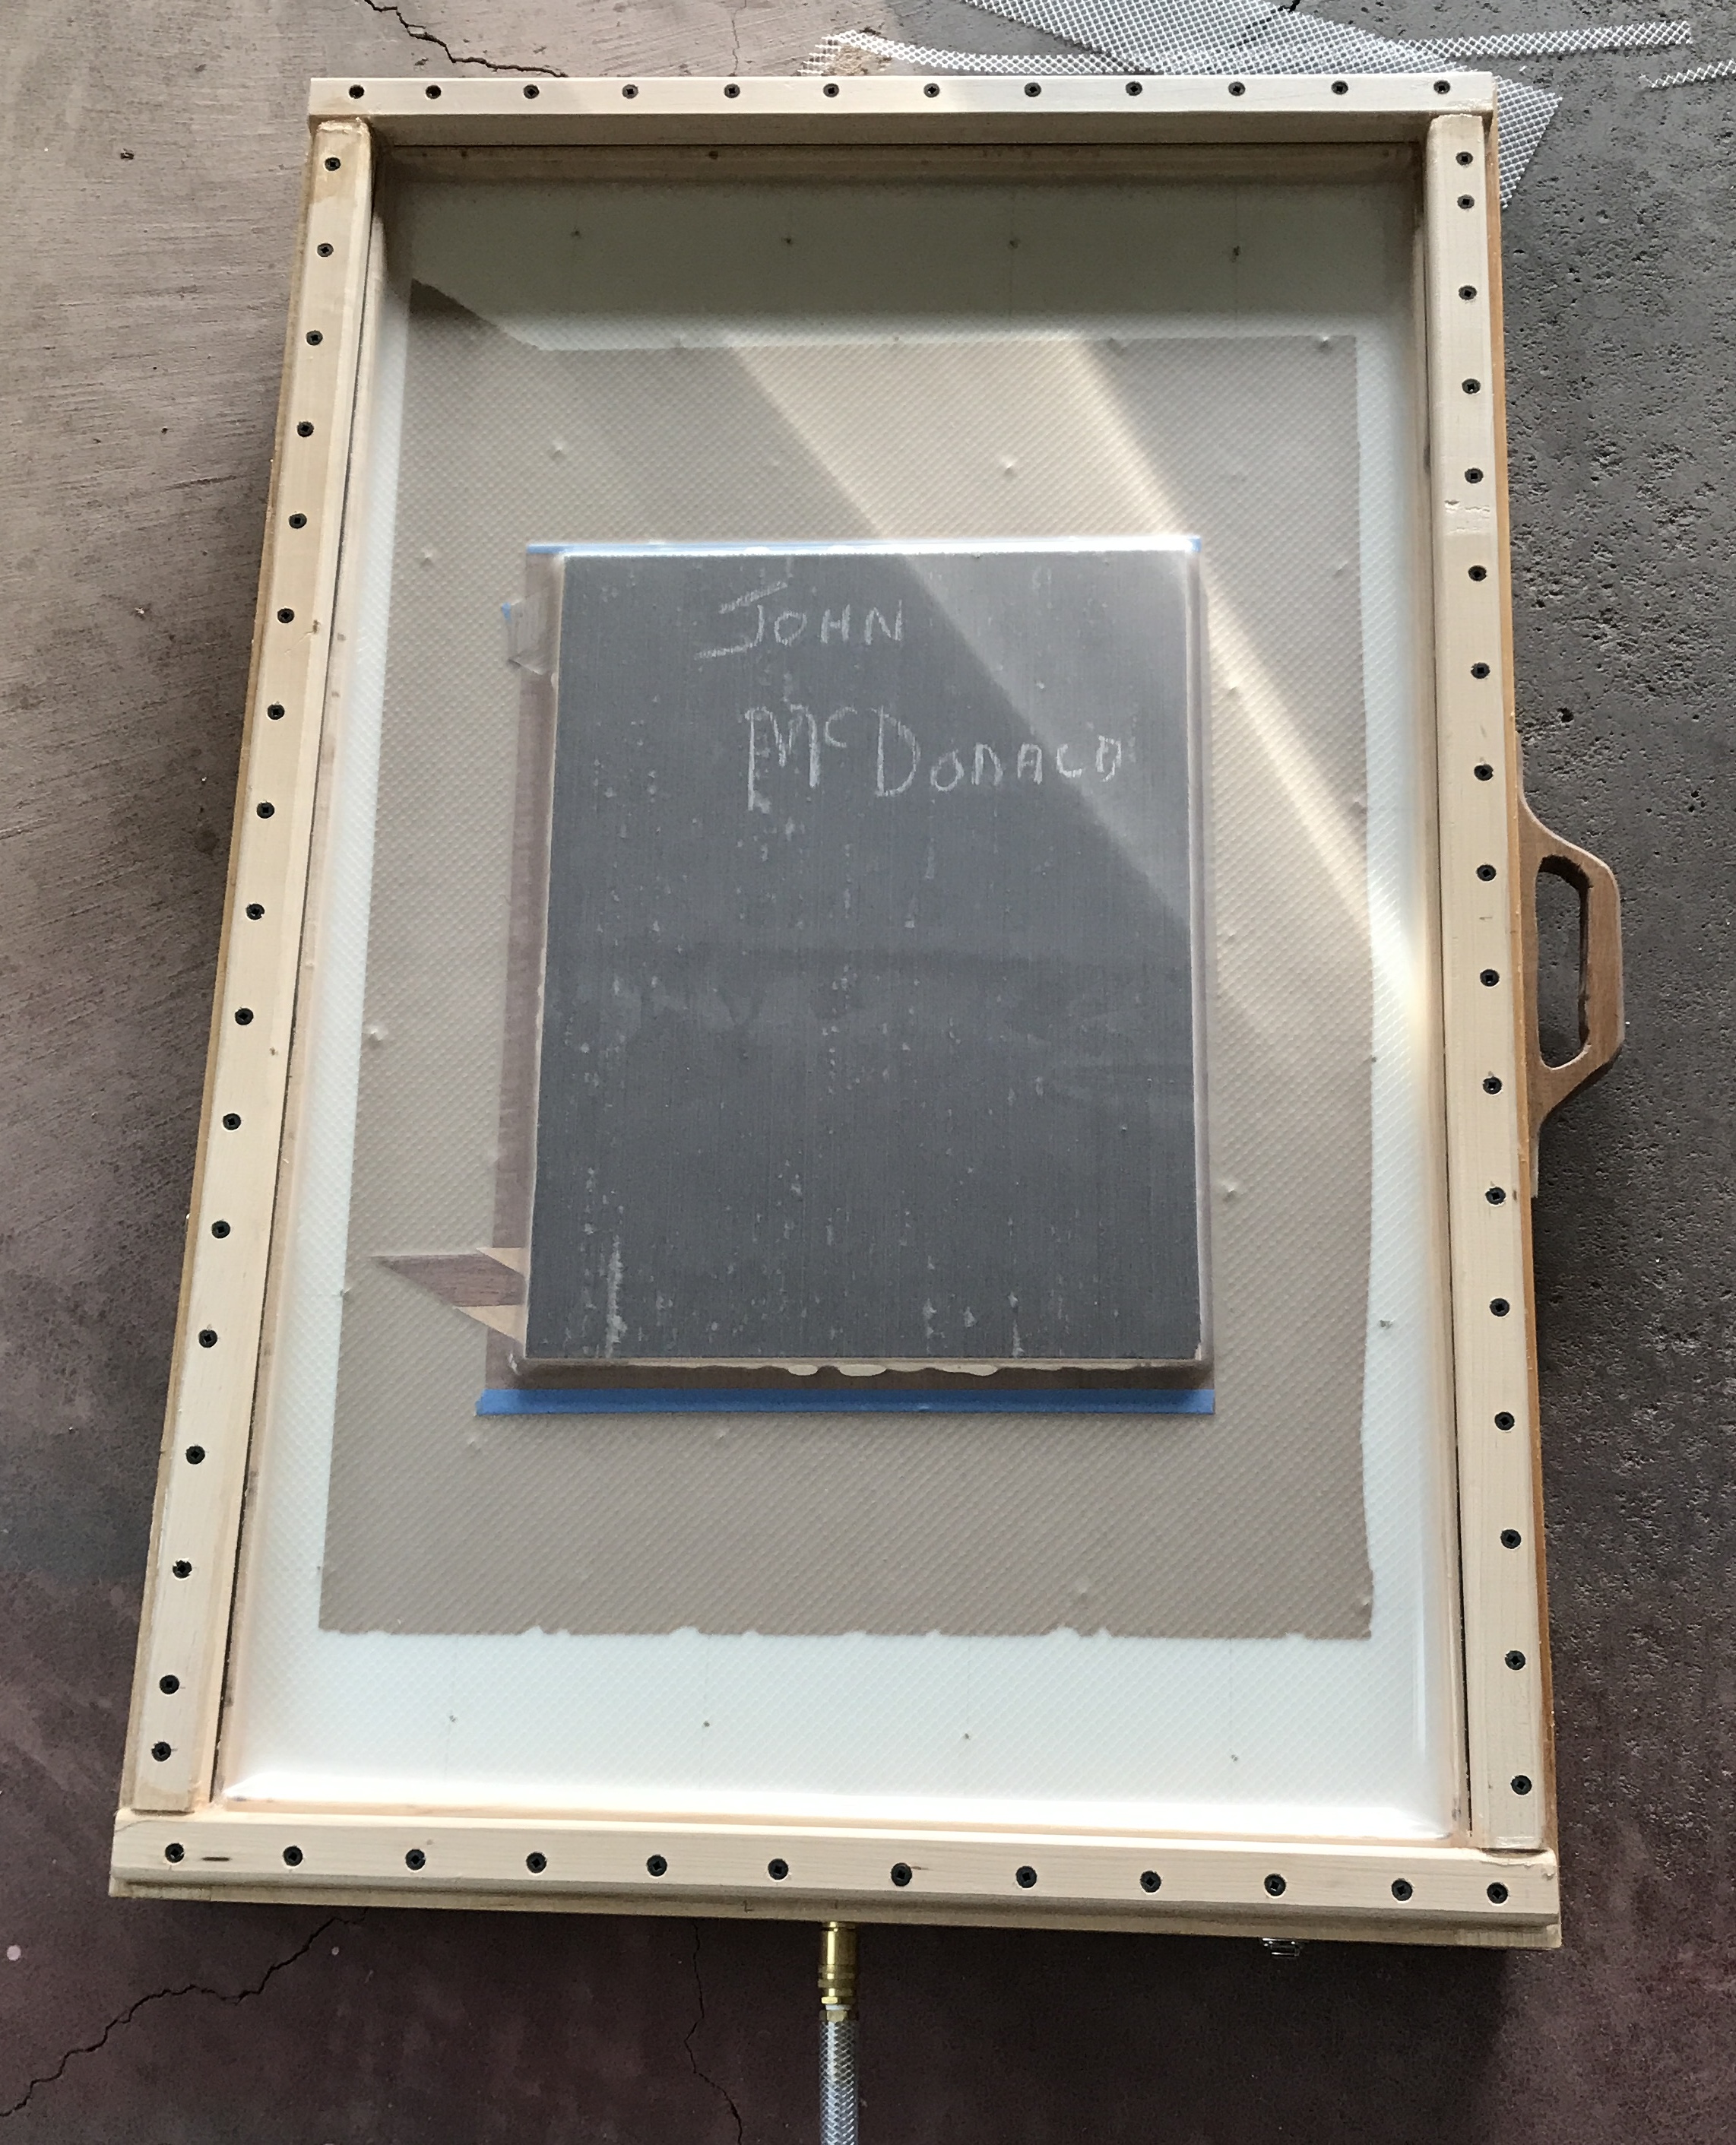
The vacuum box was pulled out from behind the lathe and laid on the garage floor. The plastic mesh was cut to fit within the lid's frame. It was laid in place and covered with a layer of paper. The parquetry collage was laid tape side down on the paper. Glue was spread on the MDF backing that had been prepared in class. (I didn't like the spreader I have as well as the Hyde spreaders used at Marc Adams. One needs to be ordered from Ace.) The glue dried for about five minutes before the board was aligned with and placed on the veneer. The lid was placed on the torsion box and vacuum was applied. Some pressure on the lid was required to seal it sufficiently for the pump to work. The photo shows the piece under vacuum. There is more squeeze out than expected. The pump is cycling every two minutes, not the best seal.
After two hours the vacuum was released. There was some glue on the plastic of the vacuum lid. The box was opened. The paper was stuck tight to the image. The majority of the paper came off. The paper felt slightly damp. The piece will be left overnight to make sure it is dry before proceeding.
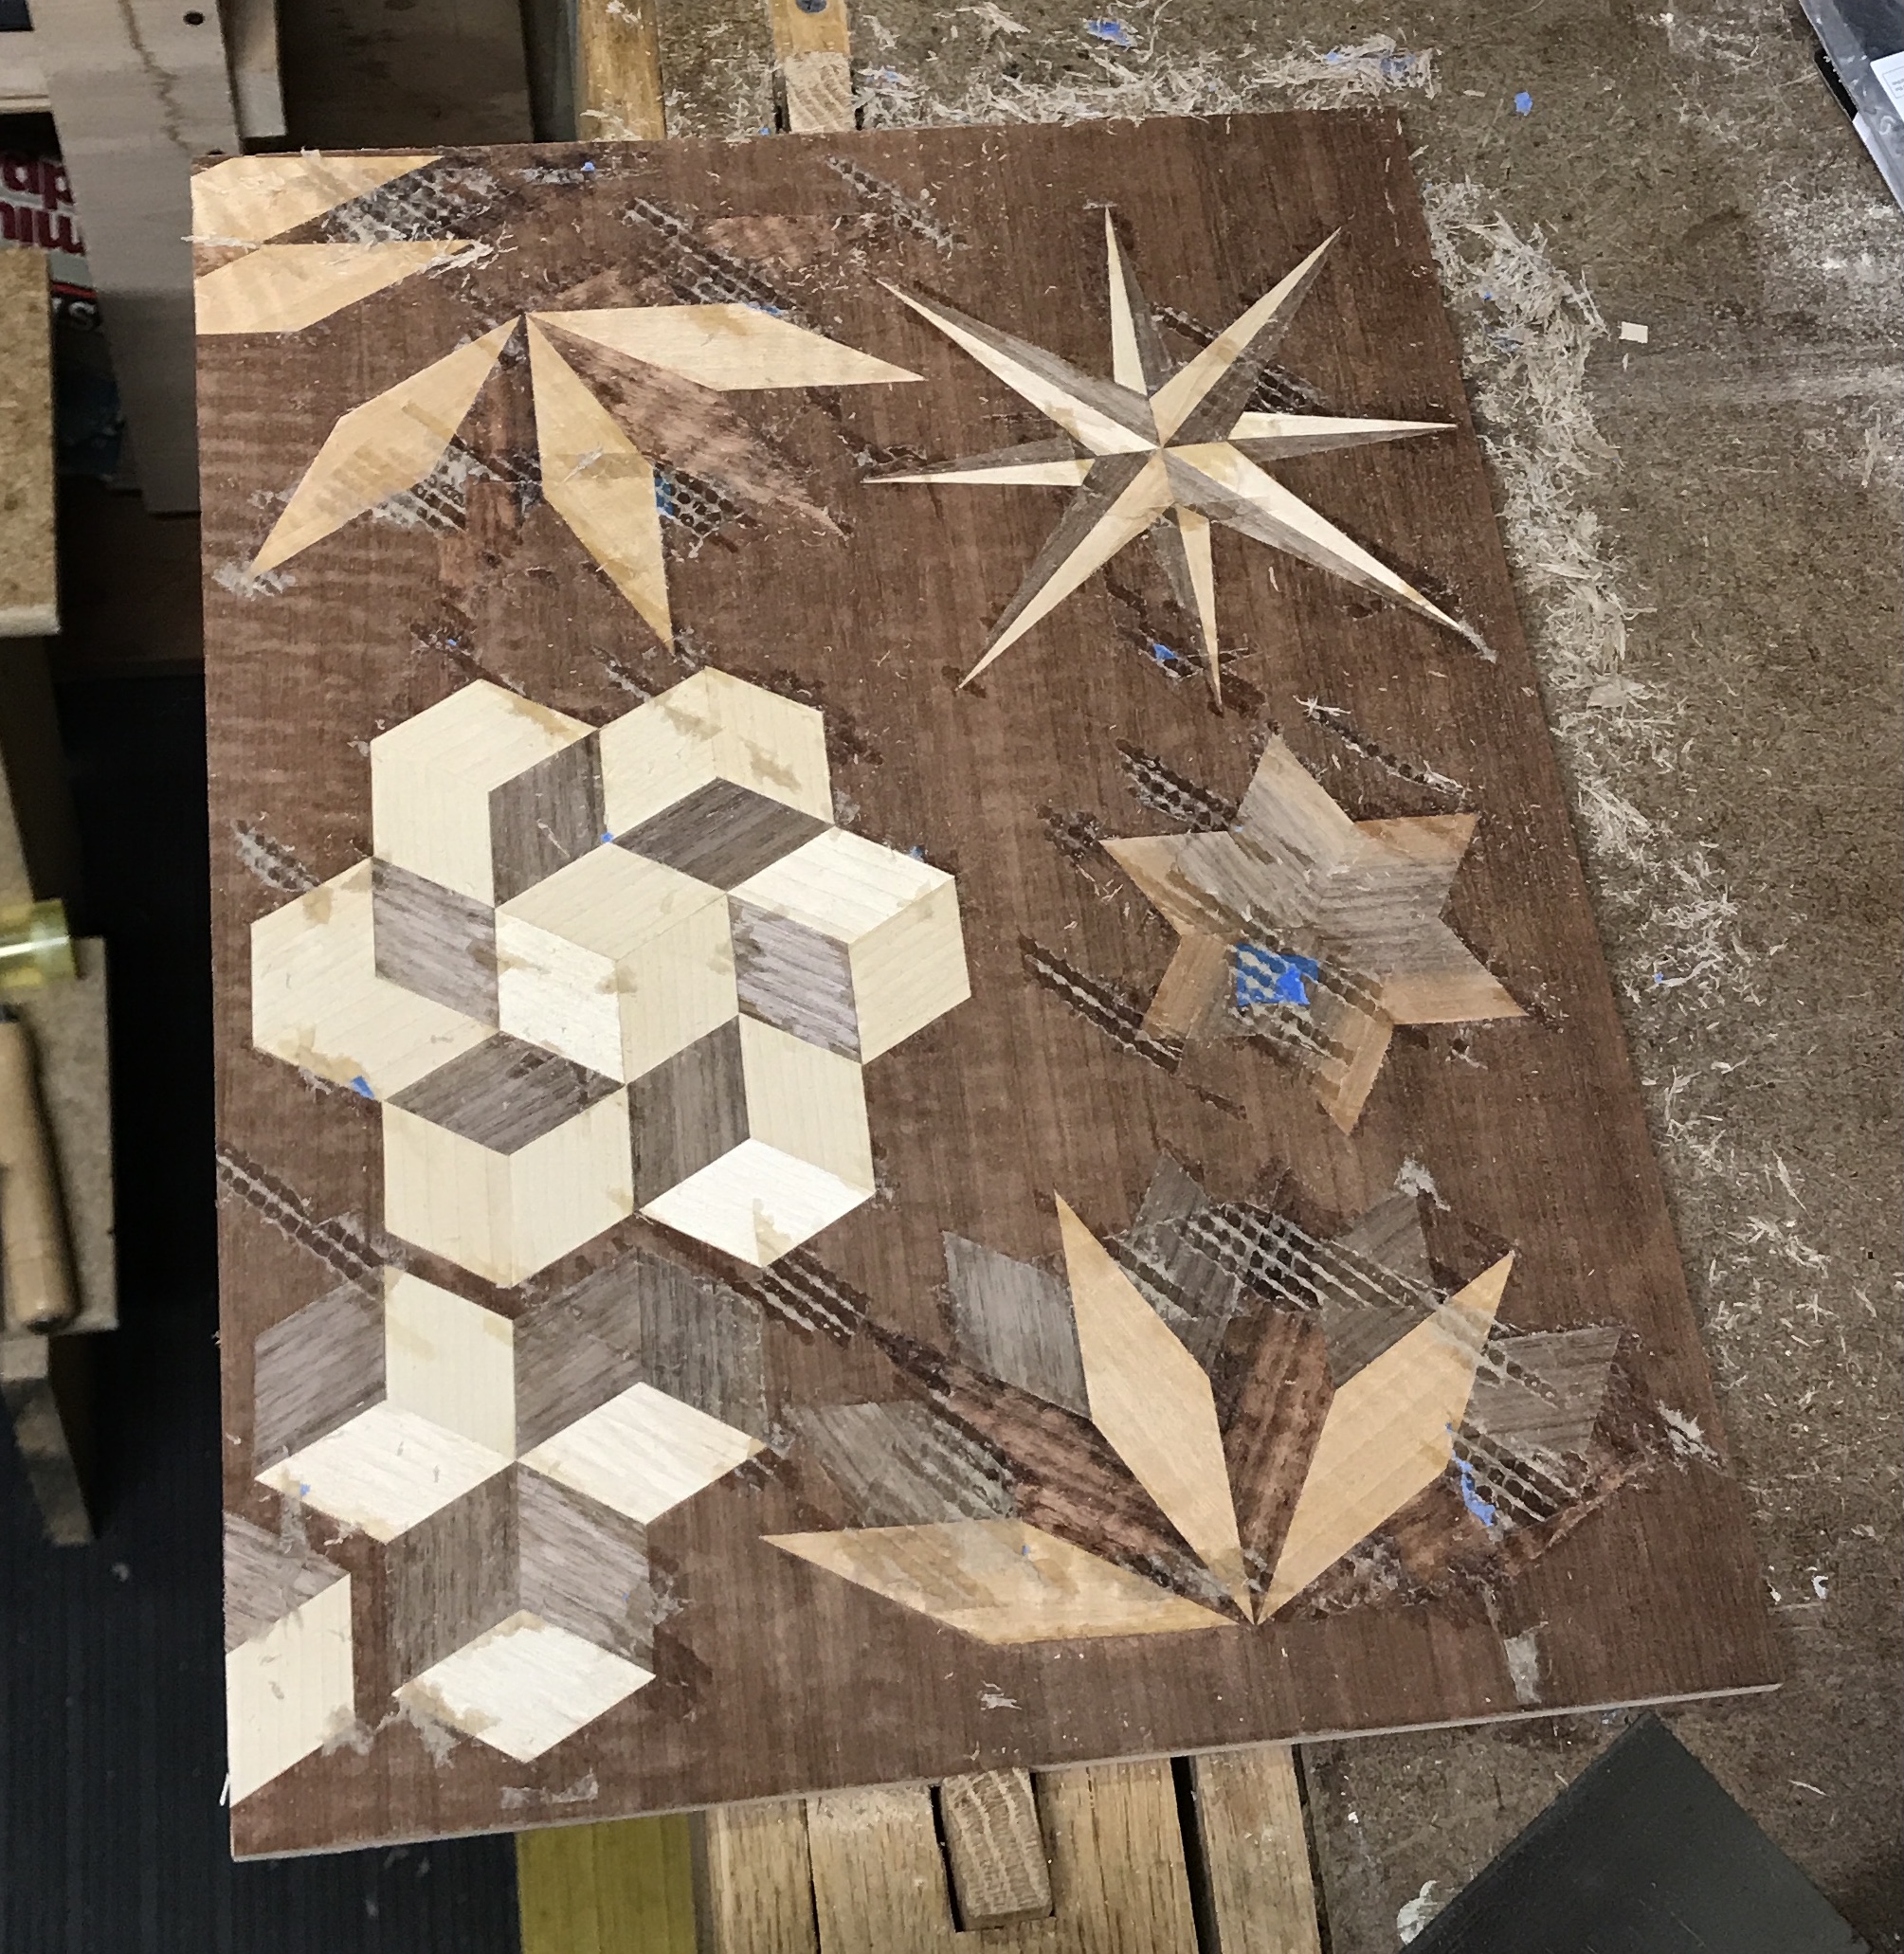
The piece was good and dry two days later. First, some scraping was done. Second, the tape was removed, followed again by scraping off as much glue as possible. The piece was sanded with 120 grit paper to remove the rest of the glue. After three sheets of paper the scraper was used to remove recalcitrant glue in three spots. After a complete sanding with 120 the paper was changed to 220 grit and the surface sanded. The back was sanded with 220 grit. The first photo shows the piece after some initial scraping and tape removal. The second photo shows the piece after sanding was complete.
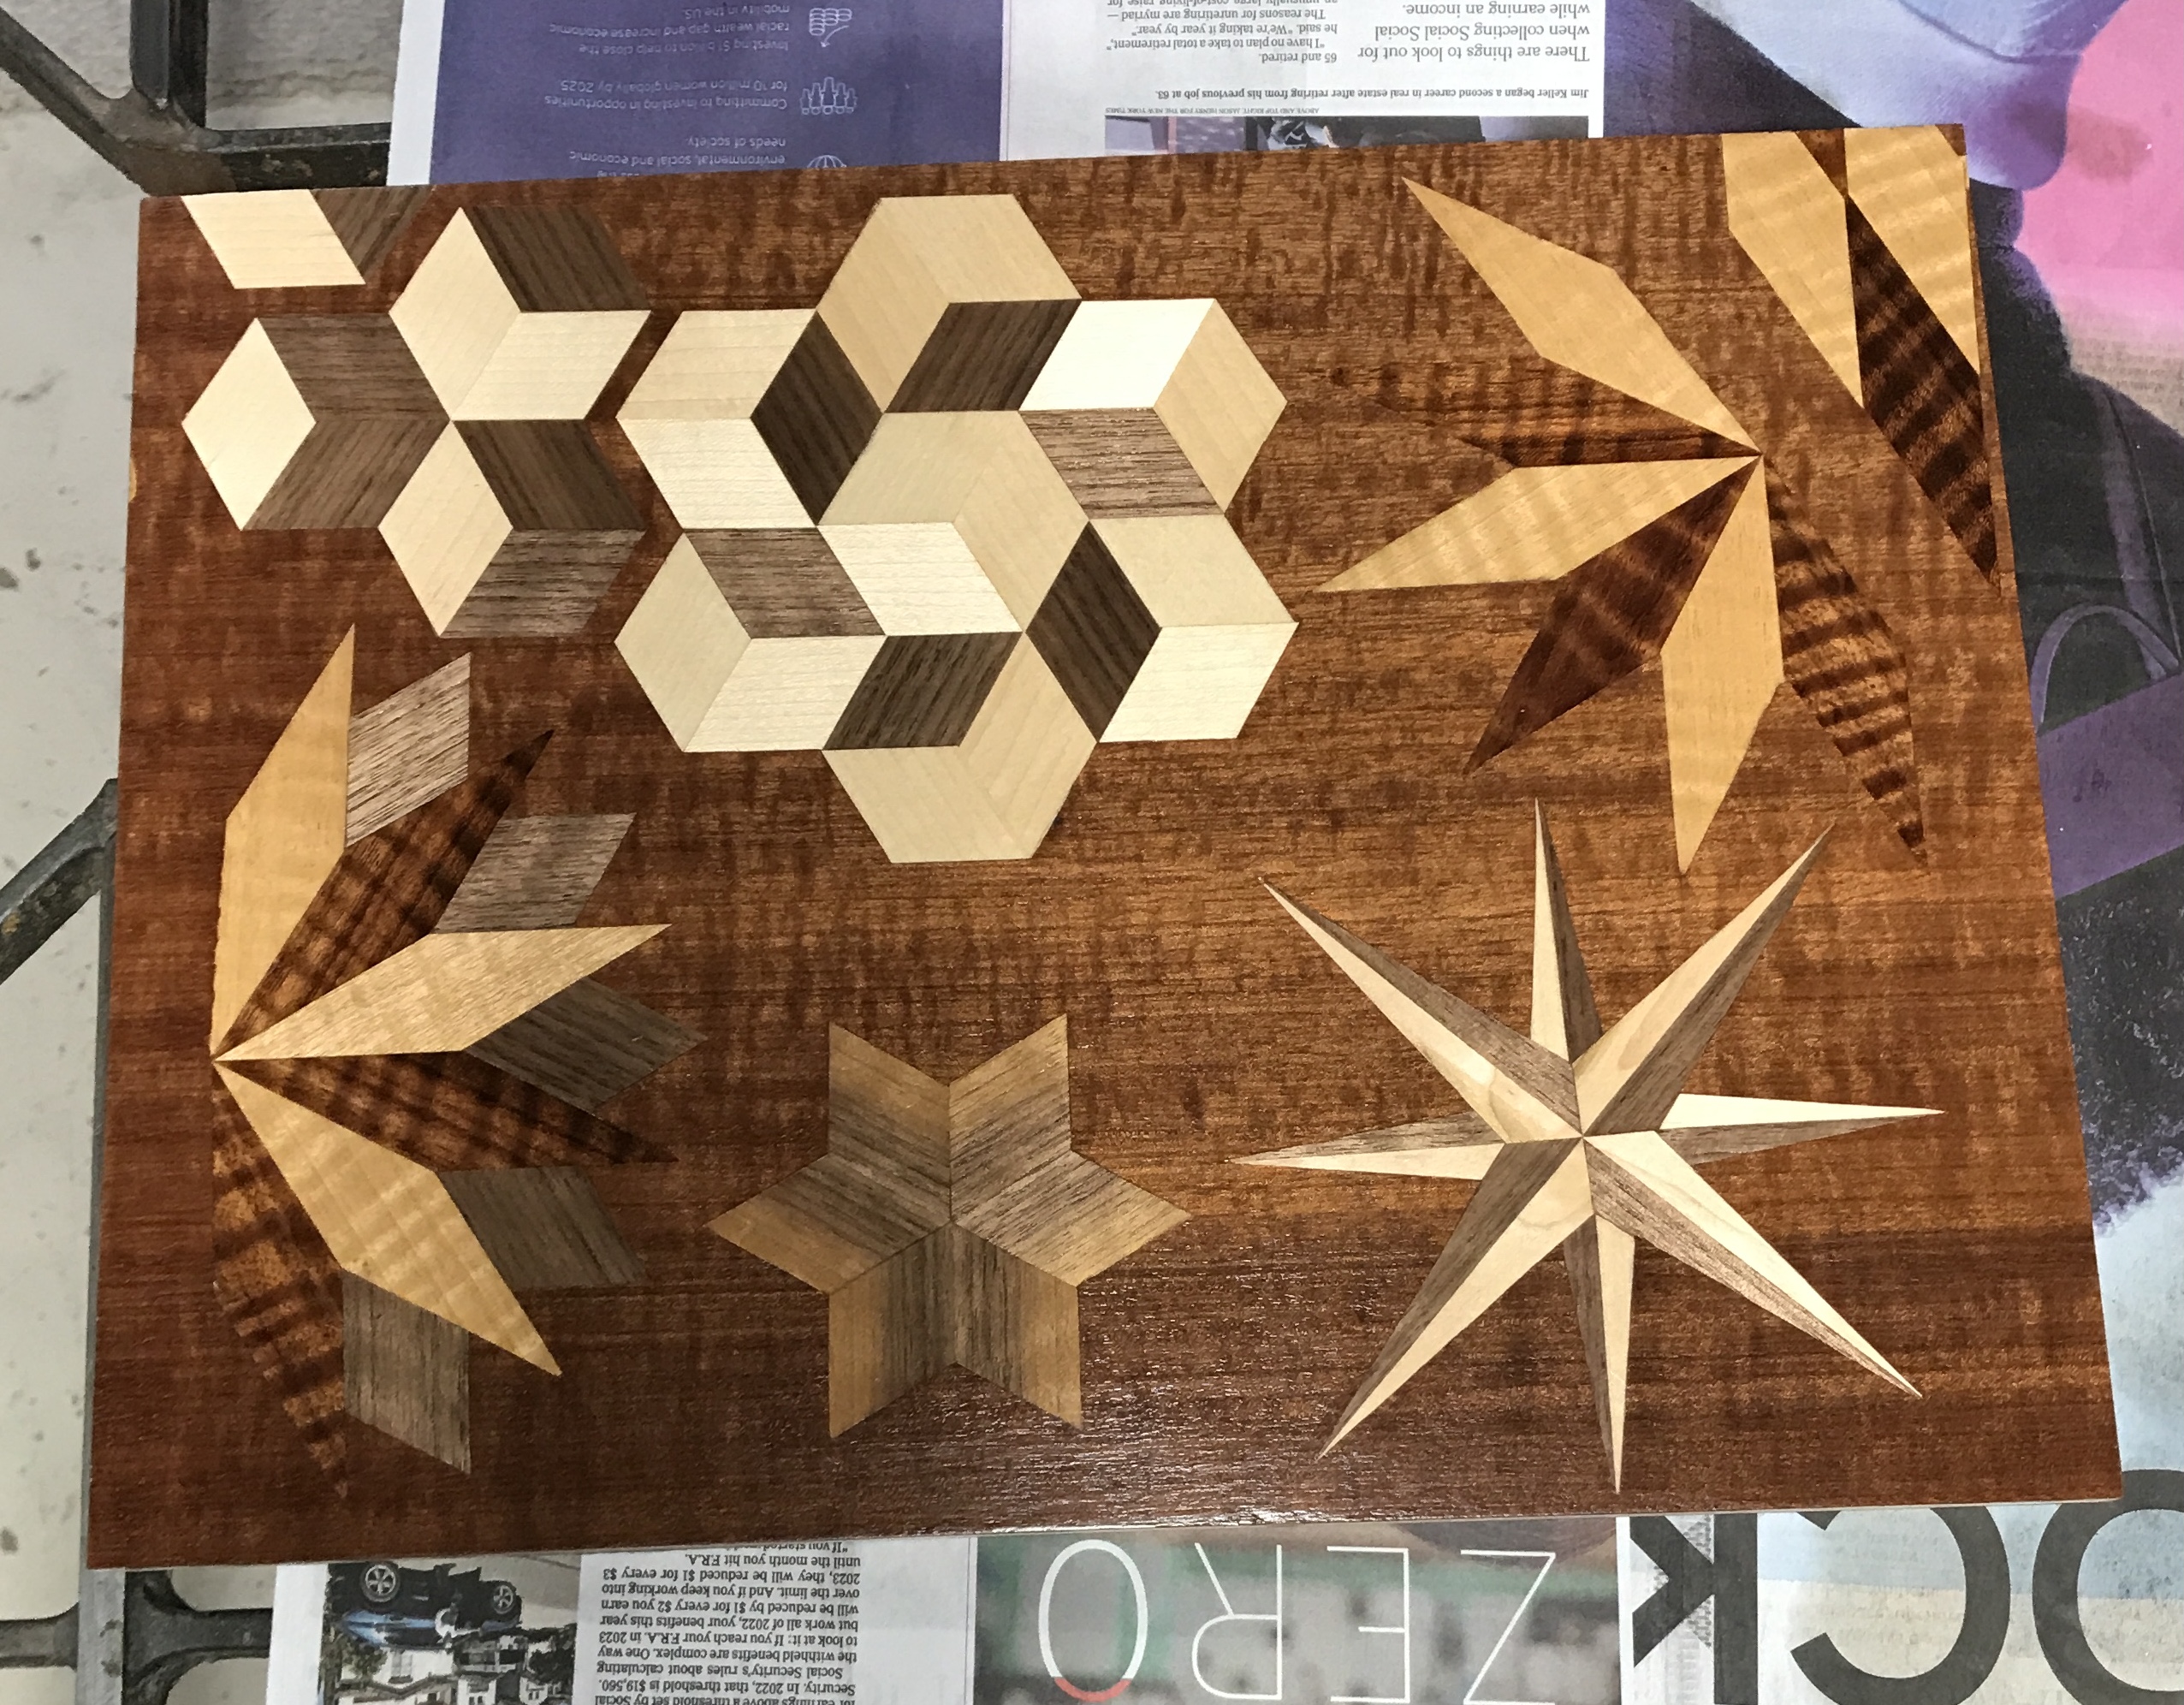
The first coat of varnish was applied with a brush as was the second, two hours later. And the final third coat was an additional two hours later. A third coat was needed for this piece because a brush hair was left in the second coat and had to be removed and the piece lightly sanded. The final collage is below.
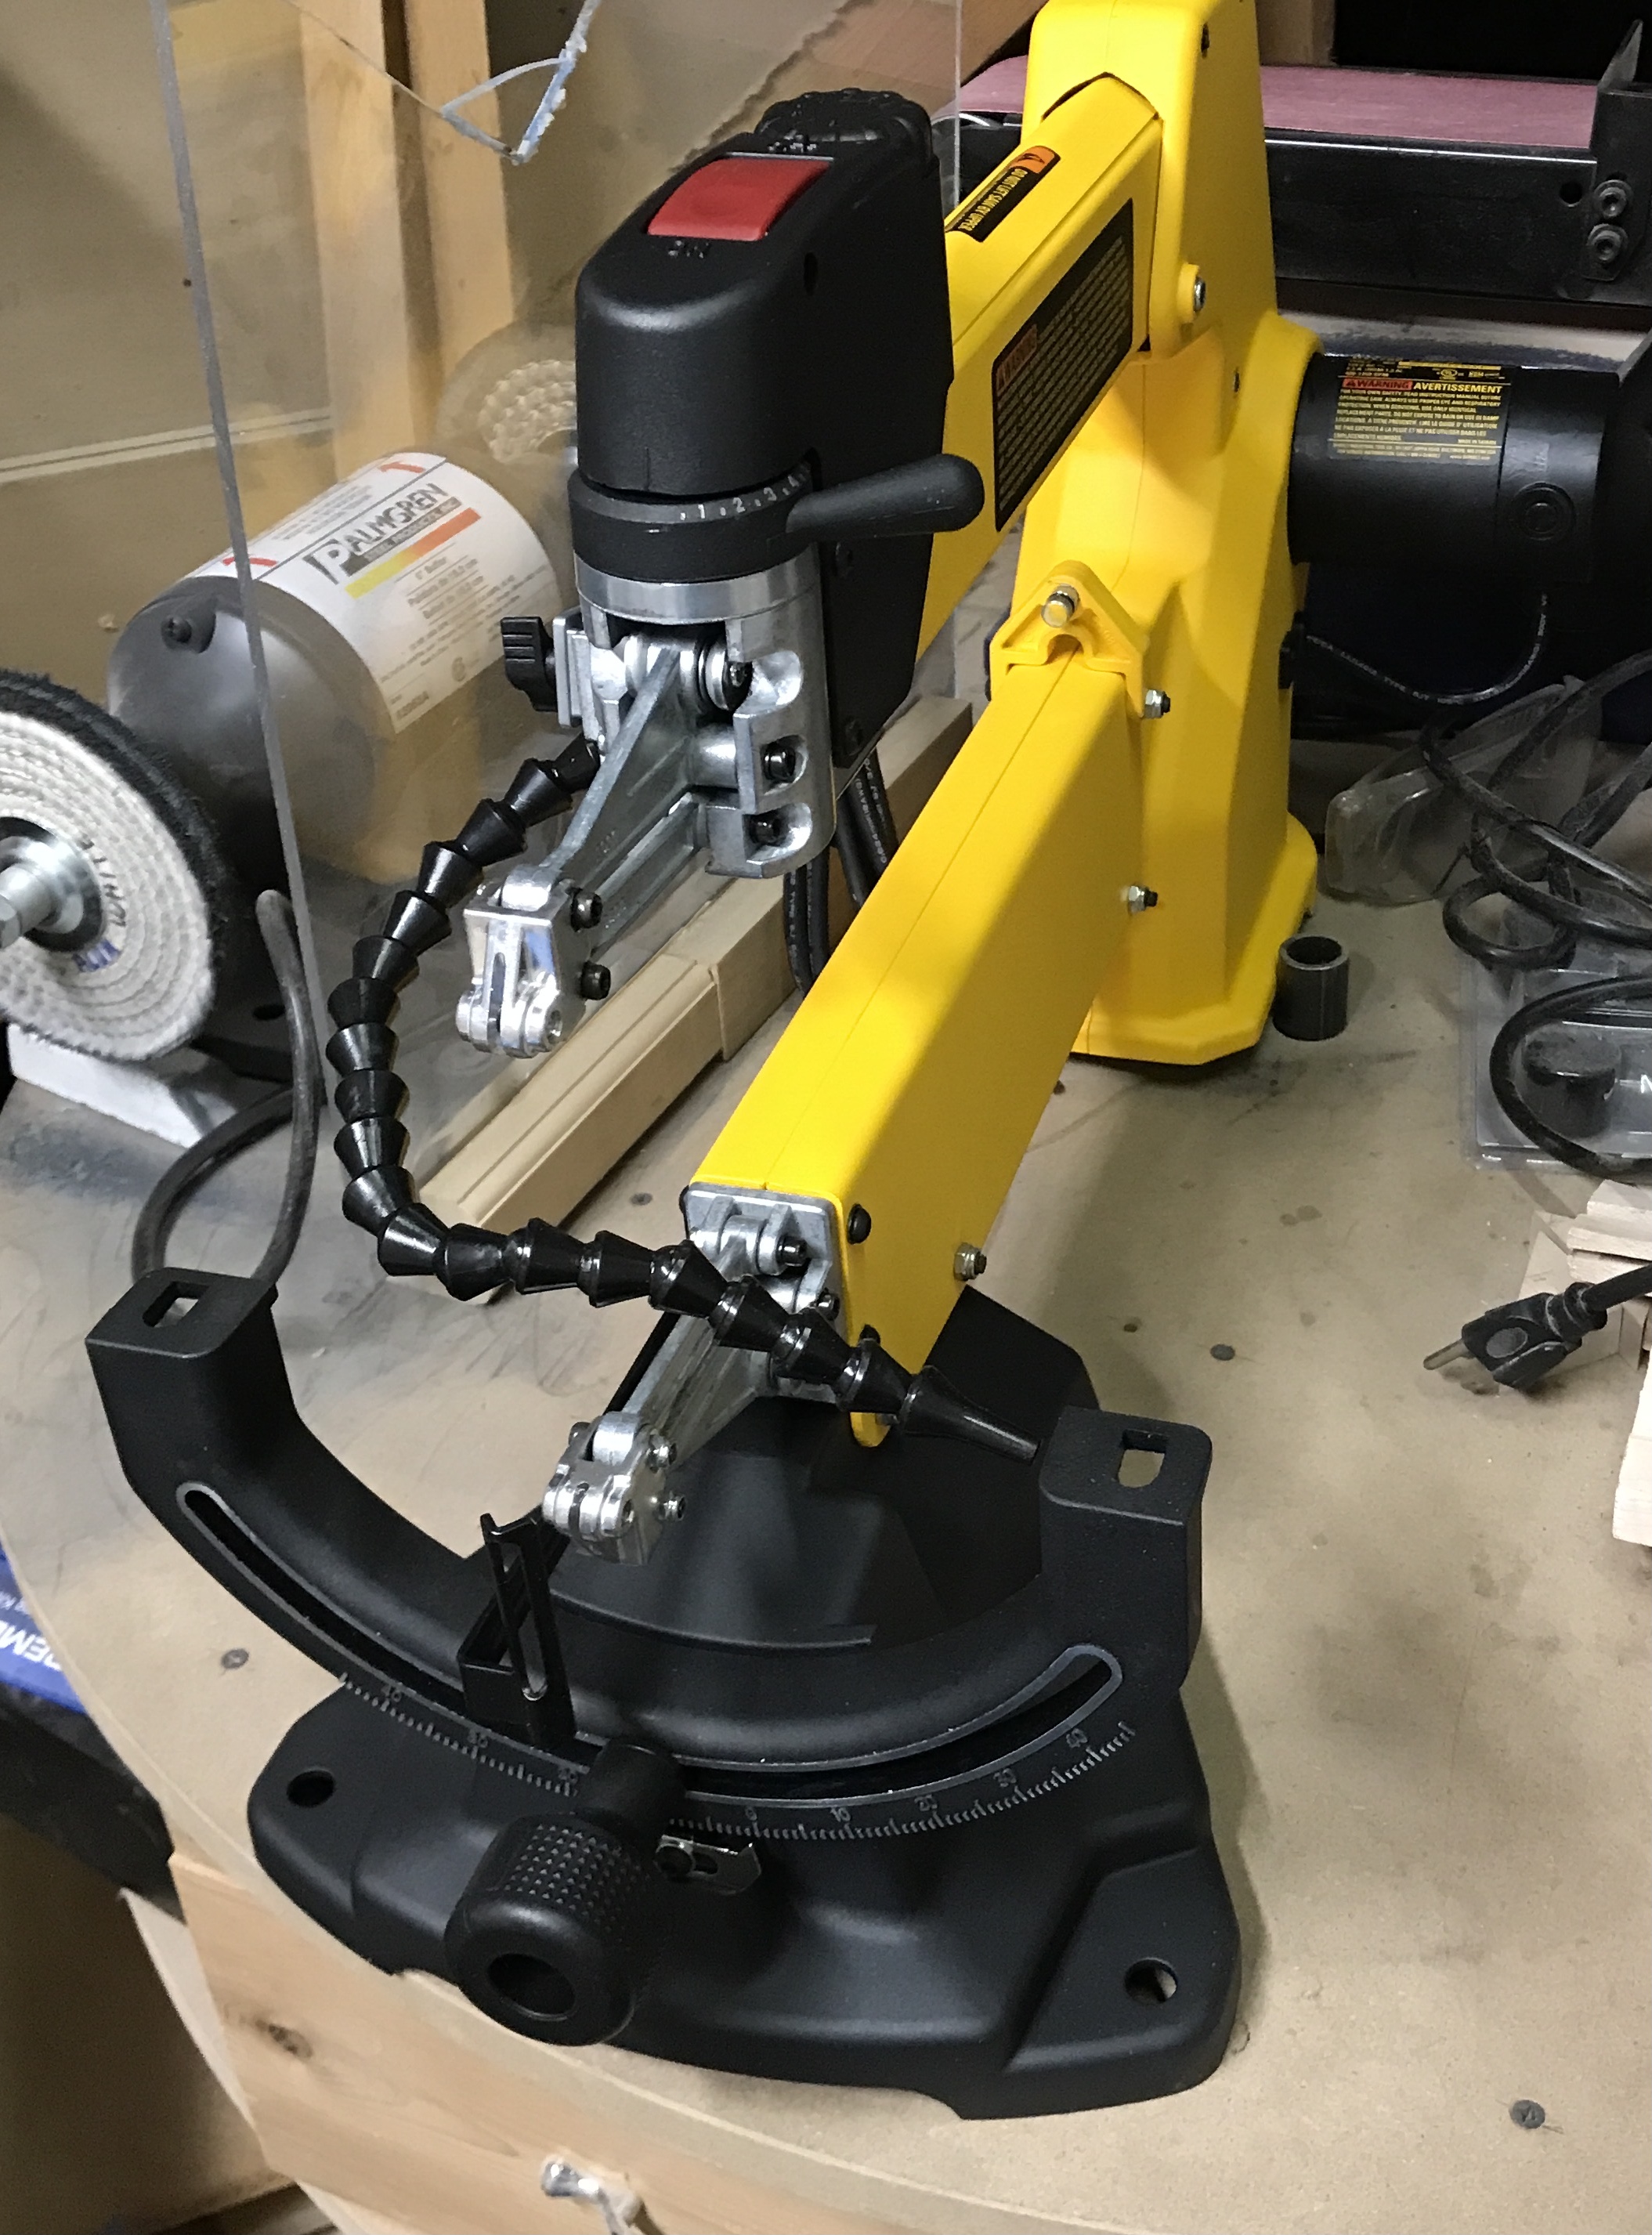
A fourth piece was begun in class, but the marquetry was not finished. It is a complex image of flowers. There is one packet that remains to be finished. I spent some time figuring out how best to build this piece up. I taped on the new part to be added, punched a hole for the blade and set the packet up in the scroll saw. Cutting was a nightmare! Not only did the keeper crack, but the underlying piece fractured and a huge chunk blew out. The problem was obvious upon closer inspection. The opening for the blade in the scroll saw is huge relative to the size of the pieces being cut. There is no support on the bottom of the packet. I don't think a piece of tape will work. A possibility would be affixing a plate to the current table putting a small hole through it. Changing the blade might be a challenge. It is already difficult to change.
There are two main types of scroll saws based on my perusal of the internet. The older style with a long U-shaped mechanism and a rotating table. The style used by the more expensive saws has a fixed table and the U rotates. The saws currently on my list are the DeWalt 20" VS, Pegas 21" Scroll Saw Machine, King Industrial 16" Scroll Saw, and the Jet 18" Scroll Saw. All of these except the DeWalt are the second type. I sent an email to Marc Adams to seek his advice. I am worried that the fixed table will not be ideal for marquetry.
Just ordered the DeWalt scroll saw used at MASW. Marc recommended this saw in his email reply. $535 from Home Depot was the cheapest and should be delivered tomorrow.
The new scroll saw arrived. It is bigger than I expected. More importantly the back end is not the same as those at MASW. However, it does fit when set off to the side of the pipe in the middle of the table. However, when the table is in place the lazy susan can now only rotate partway. All tools can be accessed, but using the belt sender will be challenging. I might be able to move the belt sander further forward and gain the needed three inches of additional space.